Documentation Index
Fetch the complete documentation index at: https://docs.runlayer.com/llms.txt
Use this file to discover all available pages before exploring further.
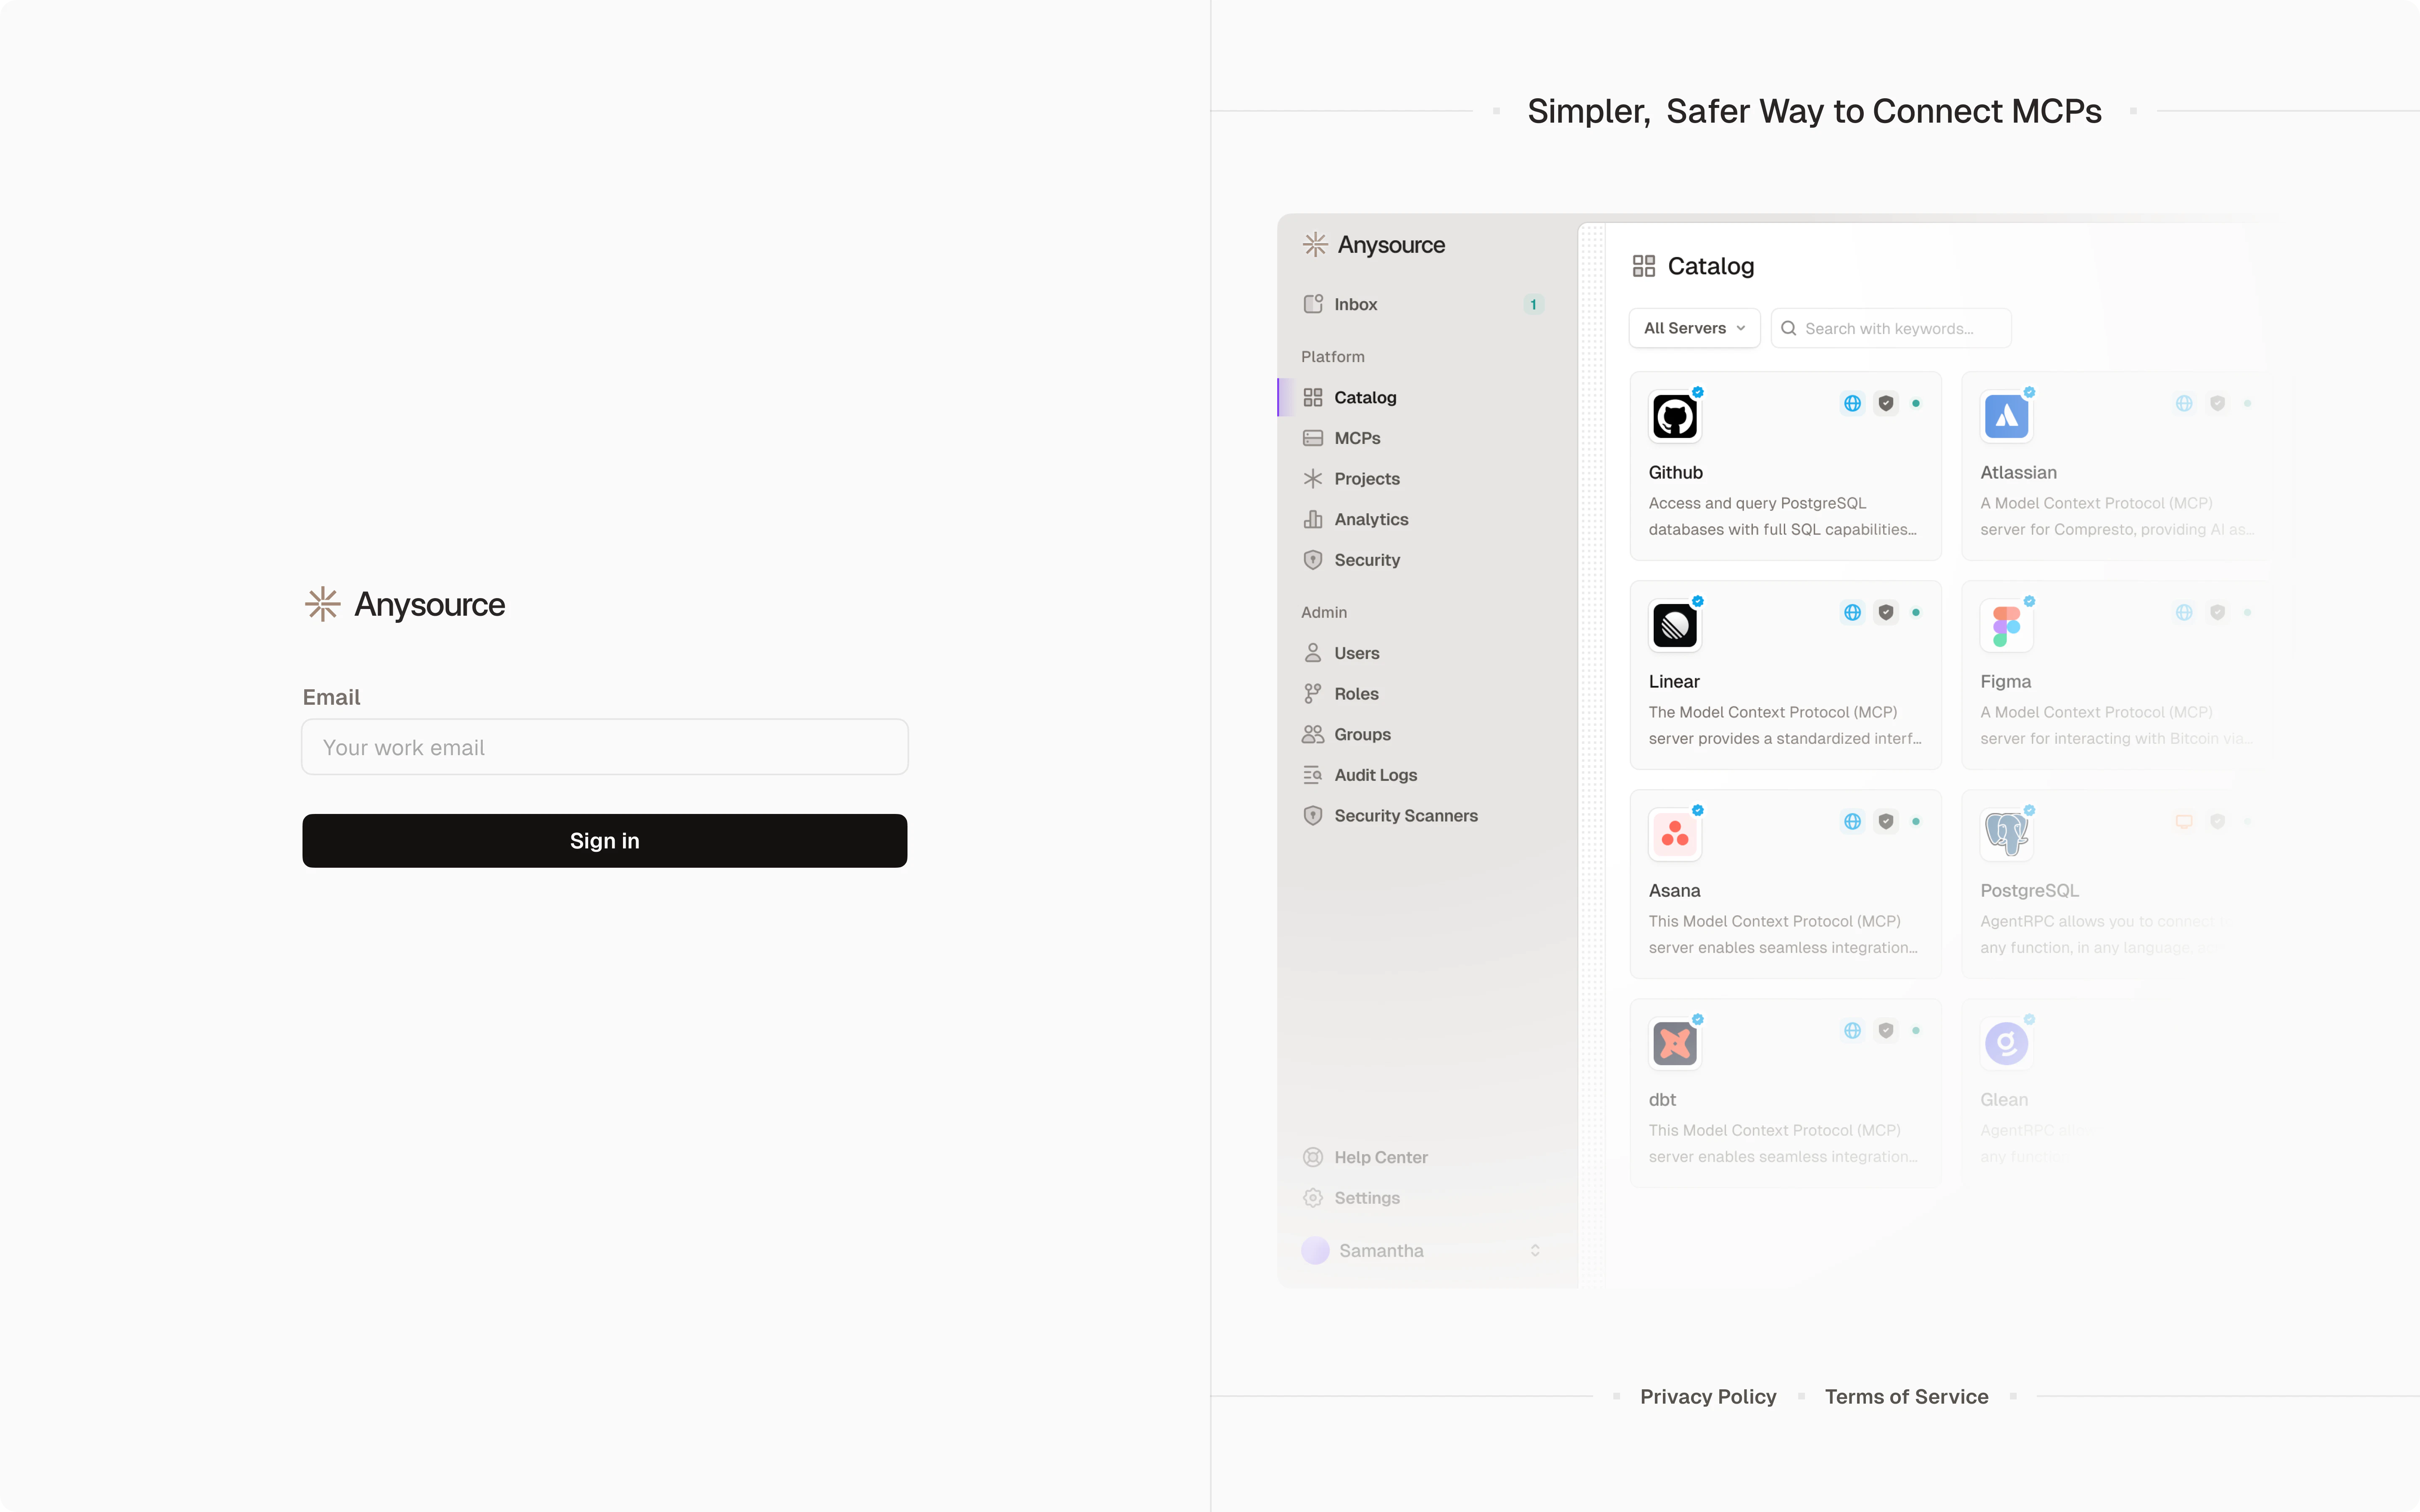
What is Runlayer?
Runlayer is a secure MCP platform that lets you connect AI clients like Claude, ChatGPT, and Cursor to the tools and resources you use every day. Think of connectors as managed MCP servers that give AI clients new skills like opening a PR in GitHub, pulling a ticket from Jira, or researching a deal in Salesforce. Key Benefits:- One-Click Setup: Install and connect connectors to any AI client quickly
- Team-Wide Access: Approved connectors are automatically shared across your organization
- Cross-Platform: Configure once and use the same connector in Claude, Cursor, ChatGPT, and more
- Full Visibility: All MCP activity is logged, secured, and controlled by your admins
Getting Started
First Login
- Navigate to your organization’s Runlayer URL (provided by your admin)
- Click “Sign In” - You’ll be redirected to your organization’s Single Sign-On (SSO) page
- Log in with your work credentials - Same username and password you use for other company tools
Navigation
Navigation Menu
- My connectors: Browse available connectors, request access, and open existing ones
- Plugins / Skills / Agents / Deploy: Build reusable AI workflows on top of your connectors
- Audit Logs: View activity history
- Settings: Manage your profile and preferences
Admin users also see Analytics and additional management options. If you need admin access, contact your IT department.
Understanding MCP Servers
What is an MCP Server? An MCP server is like a plugin that extends what AI assistants can do. For example:- GitHub MCP: Lets AI read and manage your code repositories
- Google Drive MCP: Gives AI access to your documents
- Slack MCP: Allows AI to read messages and post updates
- Database MCP: Connects AI to your company’s databases
- Server: The MCP plugin itself (e.g., “GitHub Integration”)
- Tools: Actions the MCP can perform (e.g., “create issue”, “search code”)
- Resources: Data the MCP can access (e.g., repository files, issues)
- Status:
Active- Ready to usePending- Waiting for admin approvalInactive- Disabled or not configuredRejected- Not approved for use
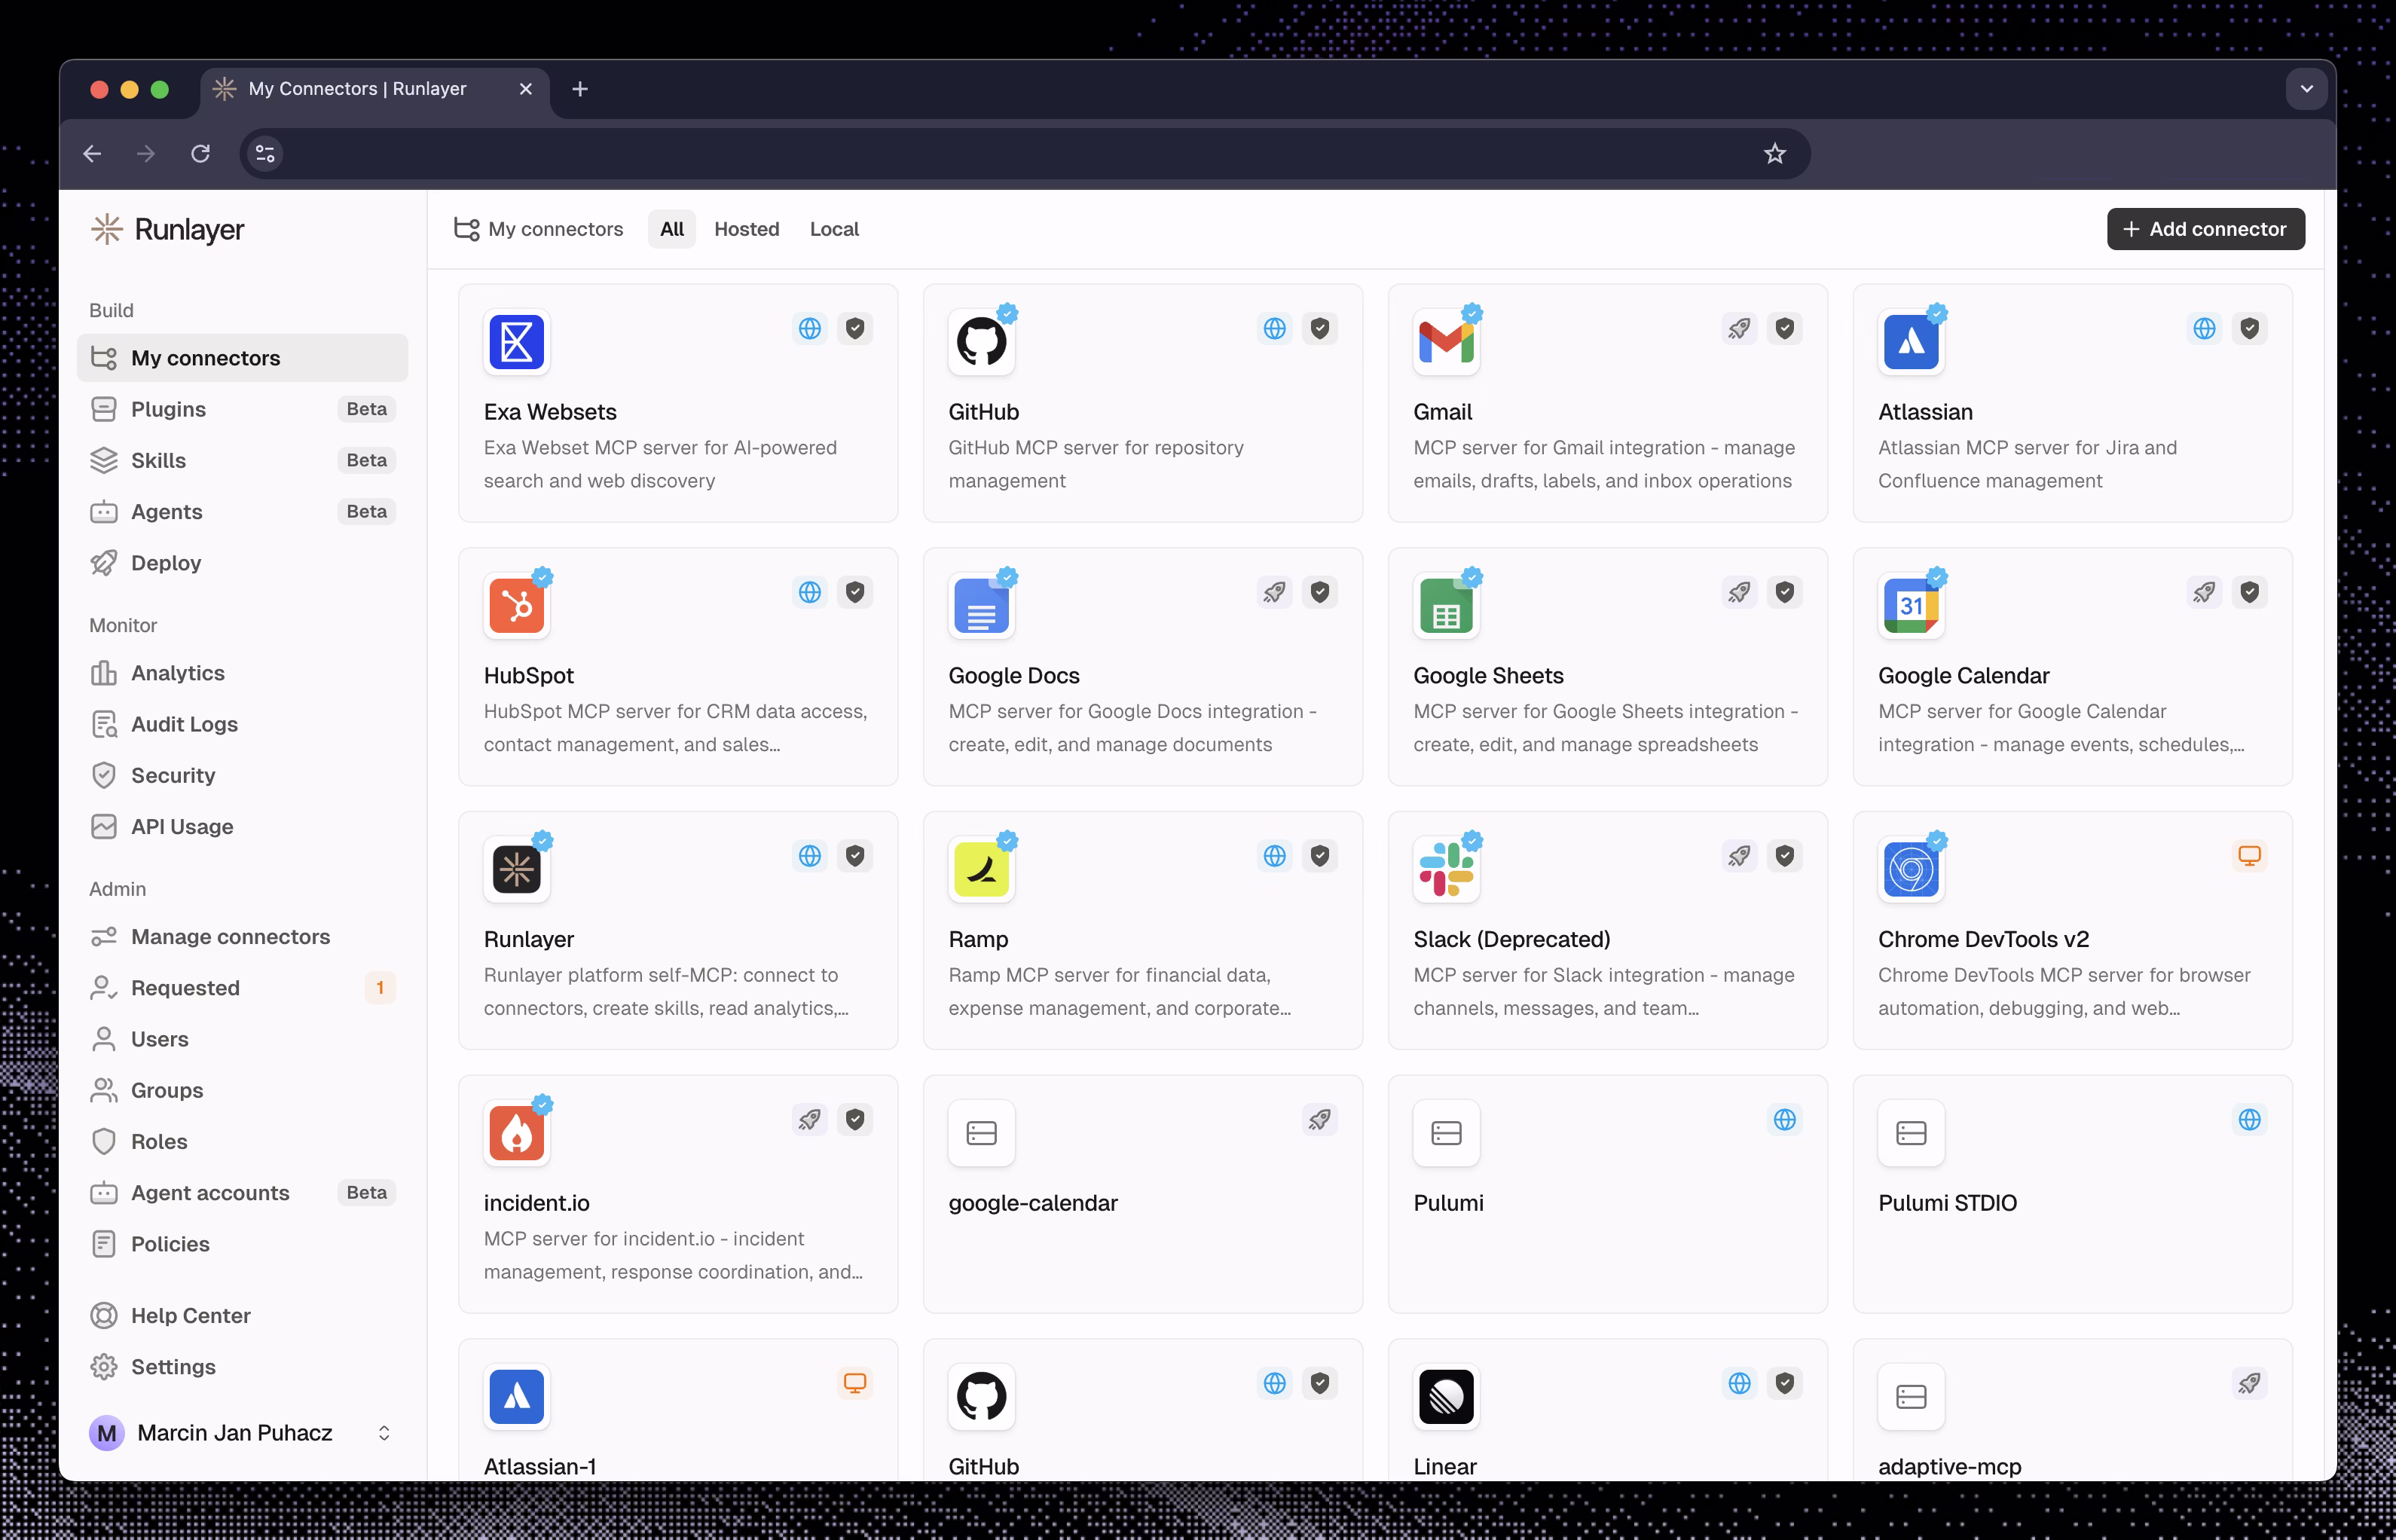
Finding Connectors
- Open My connectors in the left sidebar
- Browse or search for connectors by name
- Click on any connector to see details:
- What it does
- What tools it provides
- What data it can access
- Security considerations
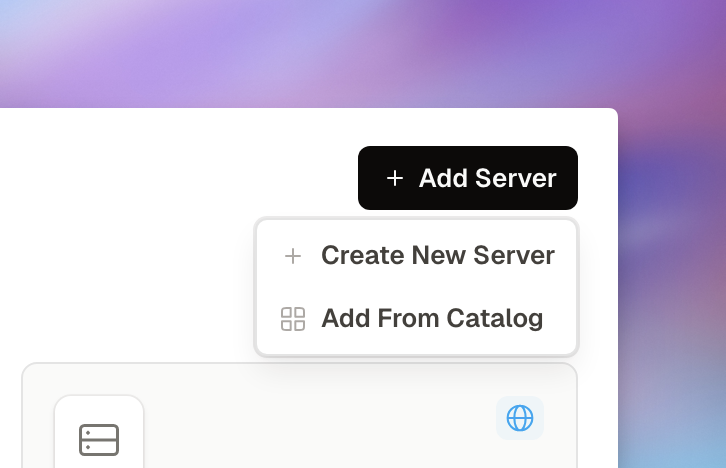
- Click “Add connector” or “Request new” to start setup (see section below)
Connecting Connectors to Your AI Tools
You can connect existing connectors to Claude, ChatGPT, Cursor, or other AI tools.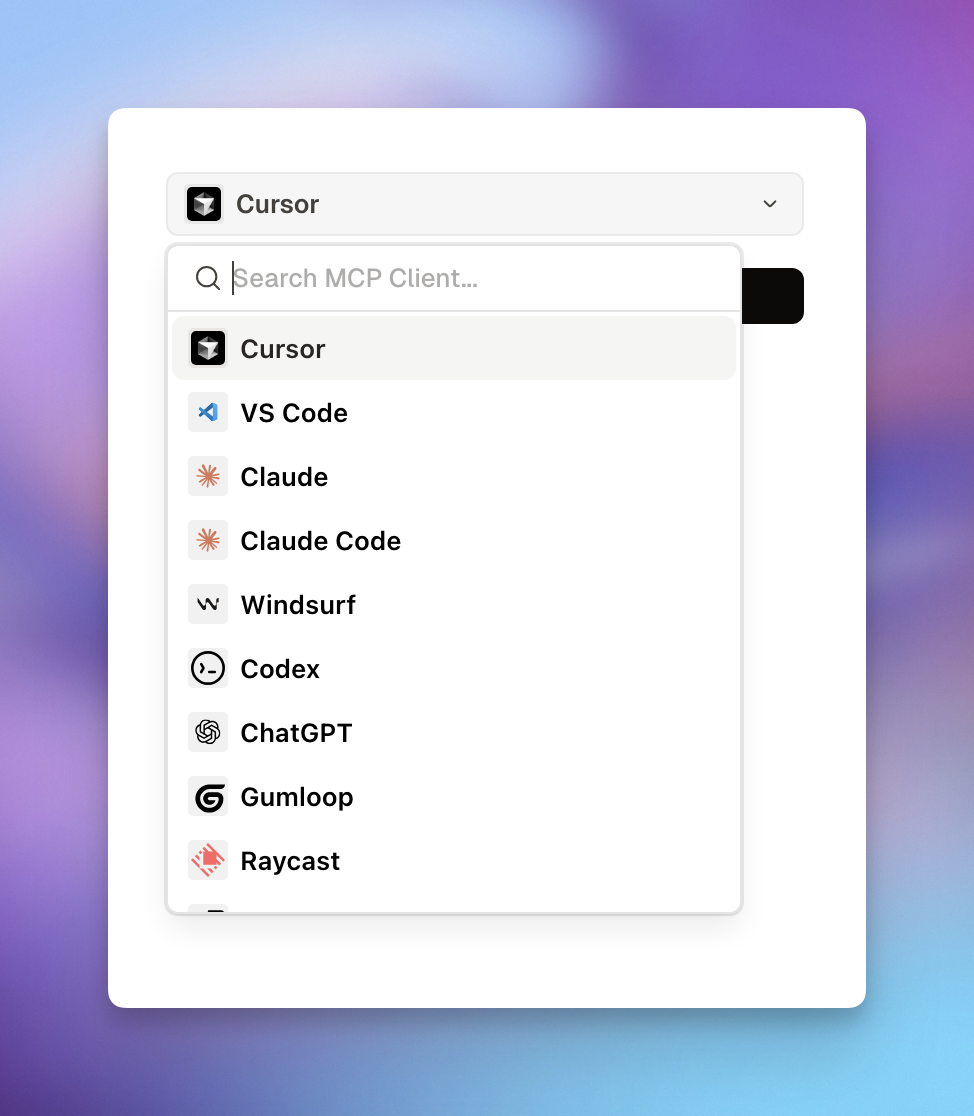
Installation Steps
Supported AI Tools & Clients
Runlayer provides tailored setup instructions for each of these clients: IDEs & Code Editors:- Cursor - One-click connect button
- VS Code - One-click connect button
- Windsurf - Configuration file setup
- GitHub Copilot - Configuration file setup
- Claude Desktop - Configuration file setup
- Claude Code - CLI command setup
- ChatGPT - Web UI connector setup
- Codex - Proxy URL and API key setup
- Warp - Configuration file setup
- Gemini CLI - Configuration file setup
- OpenCode - Configuration file setup
- Gumloop - Proxy URL and API key setup
- Raycast - Configuration file setup
- TypeScript SDK - Code-based integration
- Python SDK - Code-based integration
- Instructions for any MCP-compatible client
Requesting a New Connector
When you need a connector you don’t currently have access to, submit a request to your administrator for approval.When to Request a Connector
Request a new connector when:- You need capabilities not available in your current connectors
- You want to connect AI to a specific data source or API
- Your workflow requires automation that a connector can provide
- You’re following documentation that requires a specific connector
Before You Request
Check Existing Connectors
Browse My connectors to see if what you need already exists. You might just need access to an existing connector.
Prepare Justification
Be ready to explain:
- What problem you’re solving
- Why this specific connector is needed
- What data it will access
- Expected business value
Request an Existing Connector
Best for: Standard connectors like GitHub, Slack, PostgreSQL, and other common tools.Configure Settings
Fill in any required configuration:
- API keys for external services
- Database connection strings
- Custom parameters
Request a Custom Connector
Best for: Internal or one-off MCP servers that are not already available in Runlayer.Fill Basic Information
- Name: Descriptive name (e.g., “Company Knowledge Base MCP”)
- Description: What this connector does in 1-2 sentences
- Category: Choose the appropriate category
Configure Connection
- URL: The MCP server address (get this from the MCP developer)
- Example:
https://mcp.example.com - Or internal:
http://internal-mcp.company.local:3000
- Example:
- Transport Type: Usually “Streamable HTTP” or “SSE”
Add Authentication (if needed)
- Select auth type: OAuth, API Key, or None
- Provide credentials if required
- Configure OAuth settings if applicable
After Submission
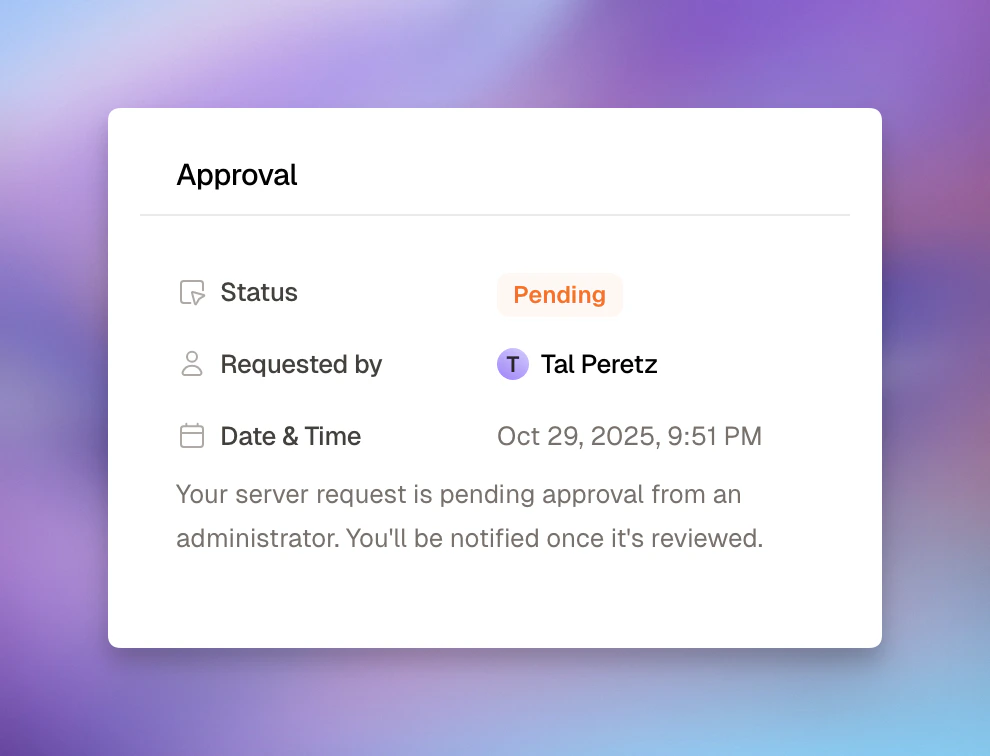
- Status shows “Pending” in My connectors
- Administrators are notified automatically
- You receive a notification with a request ID
- Wait for review - Check back for updates
Requesting Access to Existing Connectors
If a connector exists but you don’t have access:Provide Context
Explain:
- Which connector you need access to
- Why you need it for your work
- What tools you’ll use it with
Viewing Audit Logs
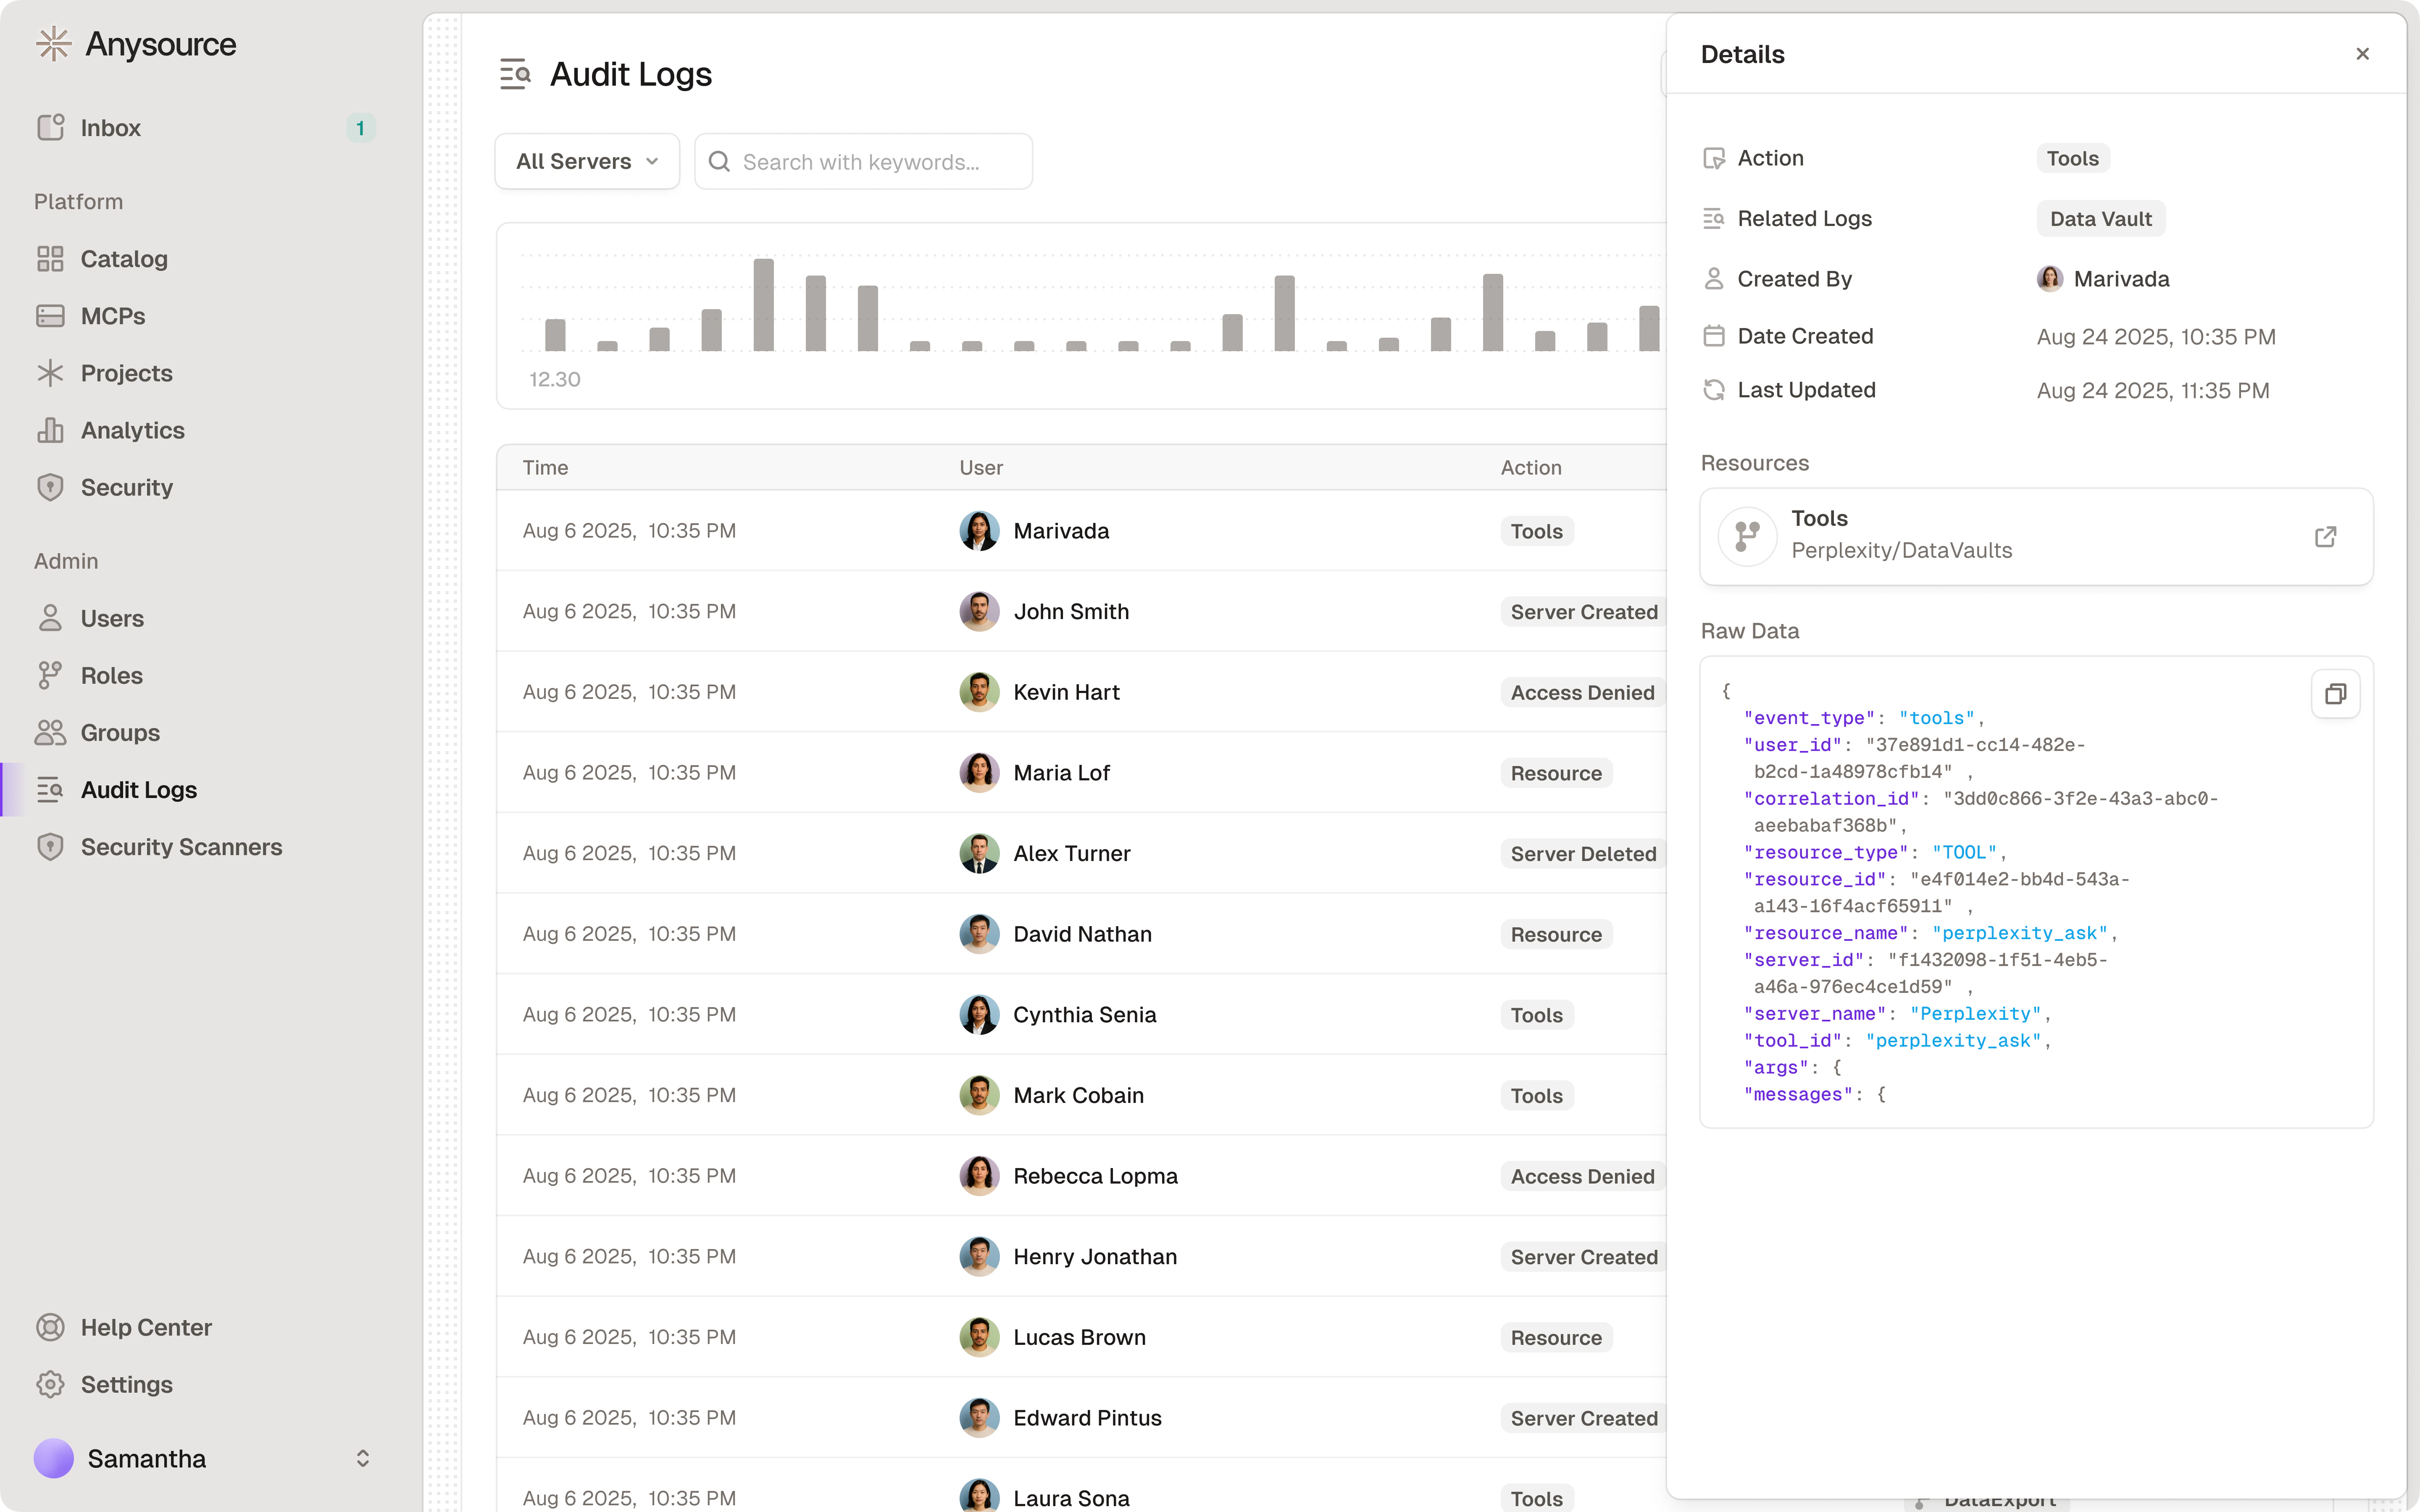
- Navigate to Audit Logs in the sidebar
- Filter by:
- Date range
- Action type (created, deleted, accessed, etc.)
- User
- Resource (specific connector / MCP server)
- Click on any log entry to see full details
Additional Resources
Admin Handbook
If you’re an admin, see the complete admin guide
Security Best Practices
Comprehensive security guidelines for MCP usage
Adding Custom MCPs
Technical guide for creating and deploying custom MCP servers
Quick Start
Deploy and configure Runlayer for your organization
Common Questions
What if I need a connector that isn't listed?
What if I need a connector that isn't listed?
Use Request new or contact your admin. Provide as much detail as possible:
- Link to MCP documentation
- What business problem it solves
- What data it needs to access
- Why existing connectors don’t work
Having connection issues or errors? See the MCP Troubleshooting Guide for step-by-step diagnostics and fixes.
Getting Help
- Audit Logs: Check logs for error details and activity history
- Documentation: Browse the full docs at your Runlayer instance
- Email/Slack us: support@runlayer.com
- Admin Contact: Reach out to your Runlayer admin for connector-specific questions