Use Runlayer MCP to create and deploy custom MCP servers with minimal setup. MCP Builder handles the scaffolding for you and uses Runlayer Deploy under the hood.
Keep the runlayer MCP server enabled in your client before starting.

Steps

1

Open Runlayer MCP in Runlayer

Open Connectors page, select Runlayer MCP connector and click Add to Client.Runlayer connector details page with Add to Client button
2

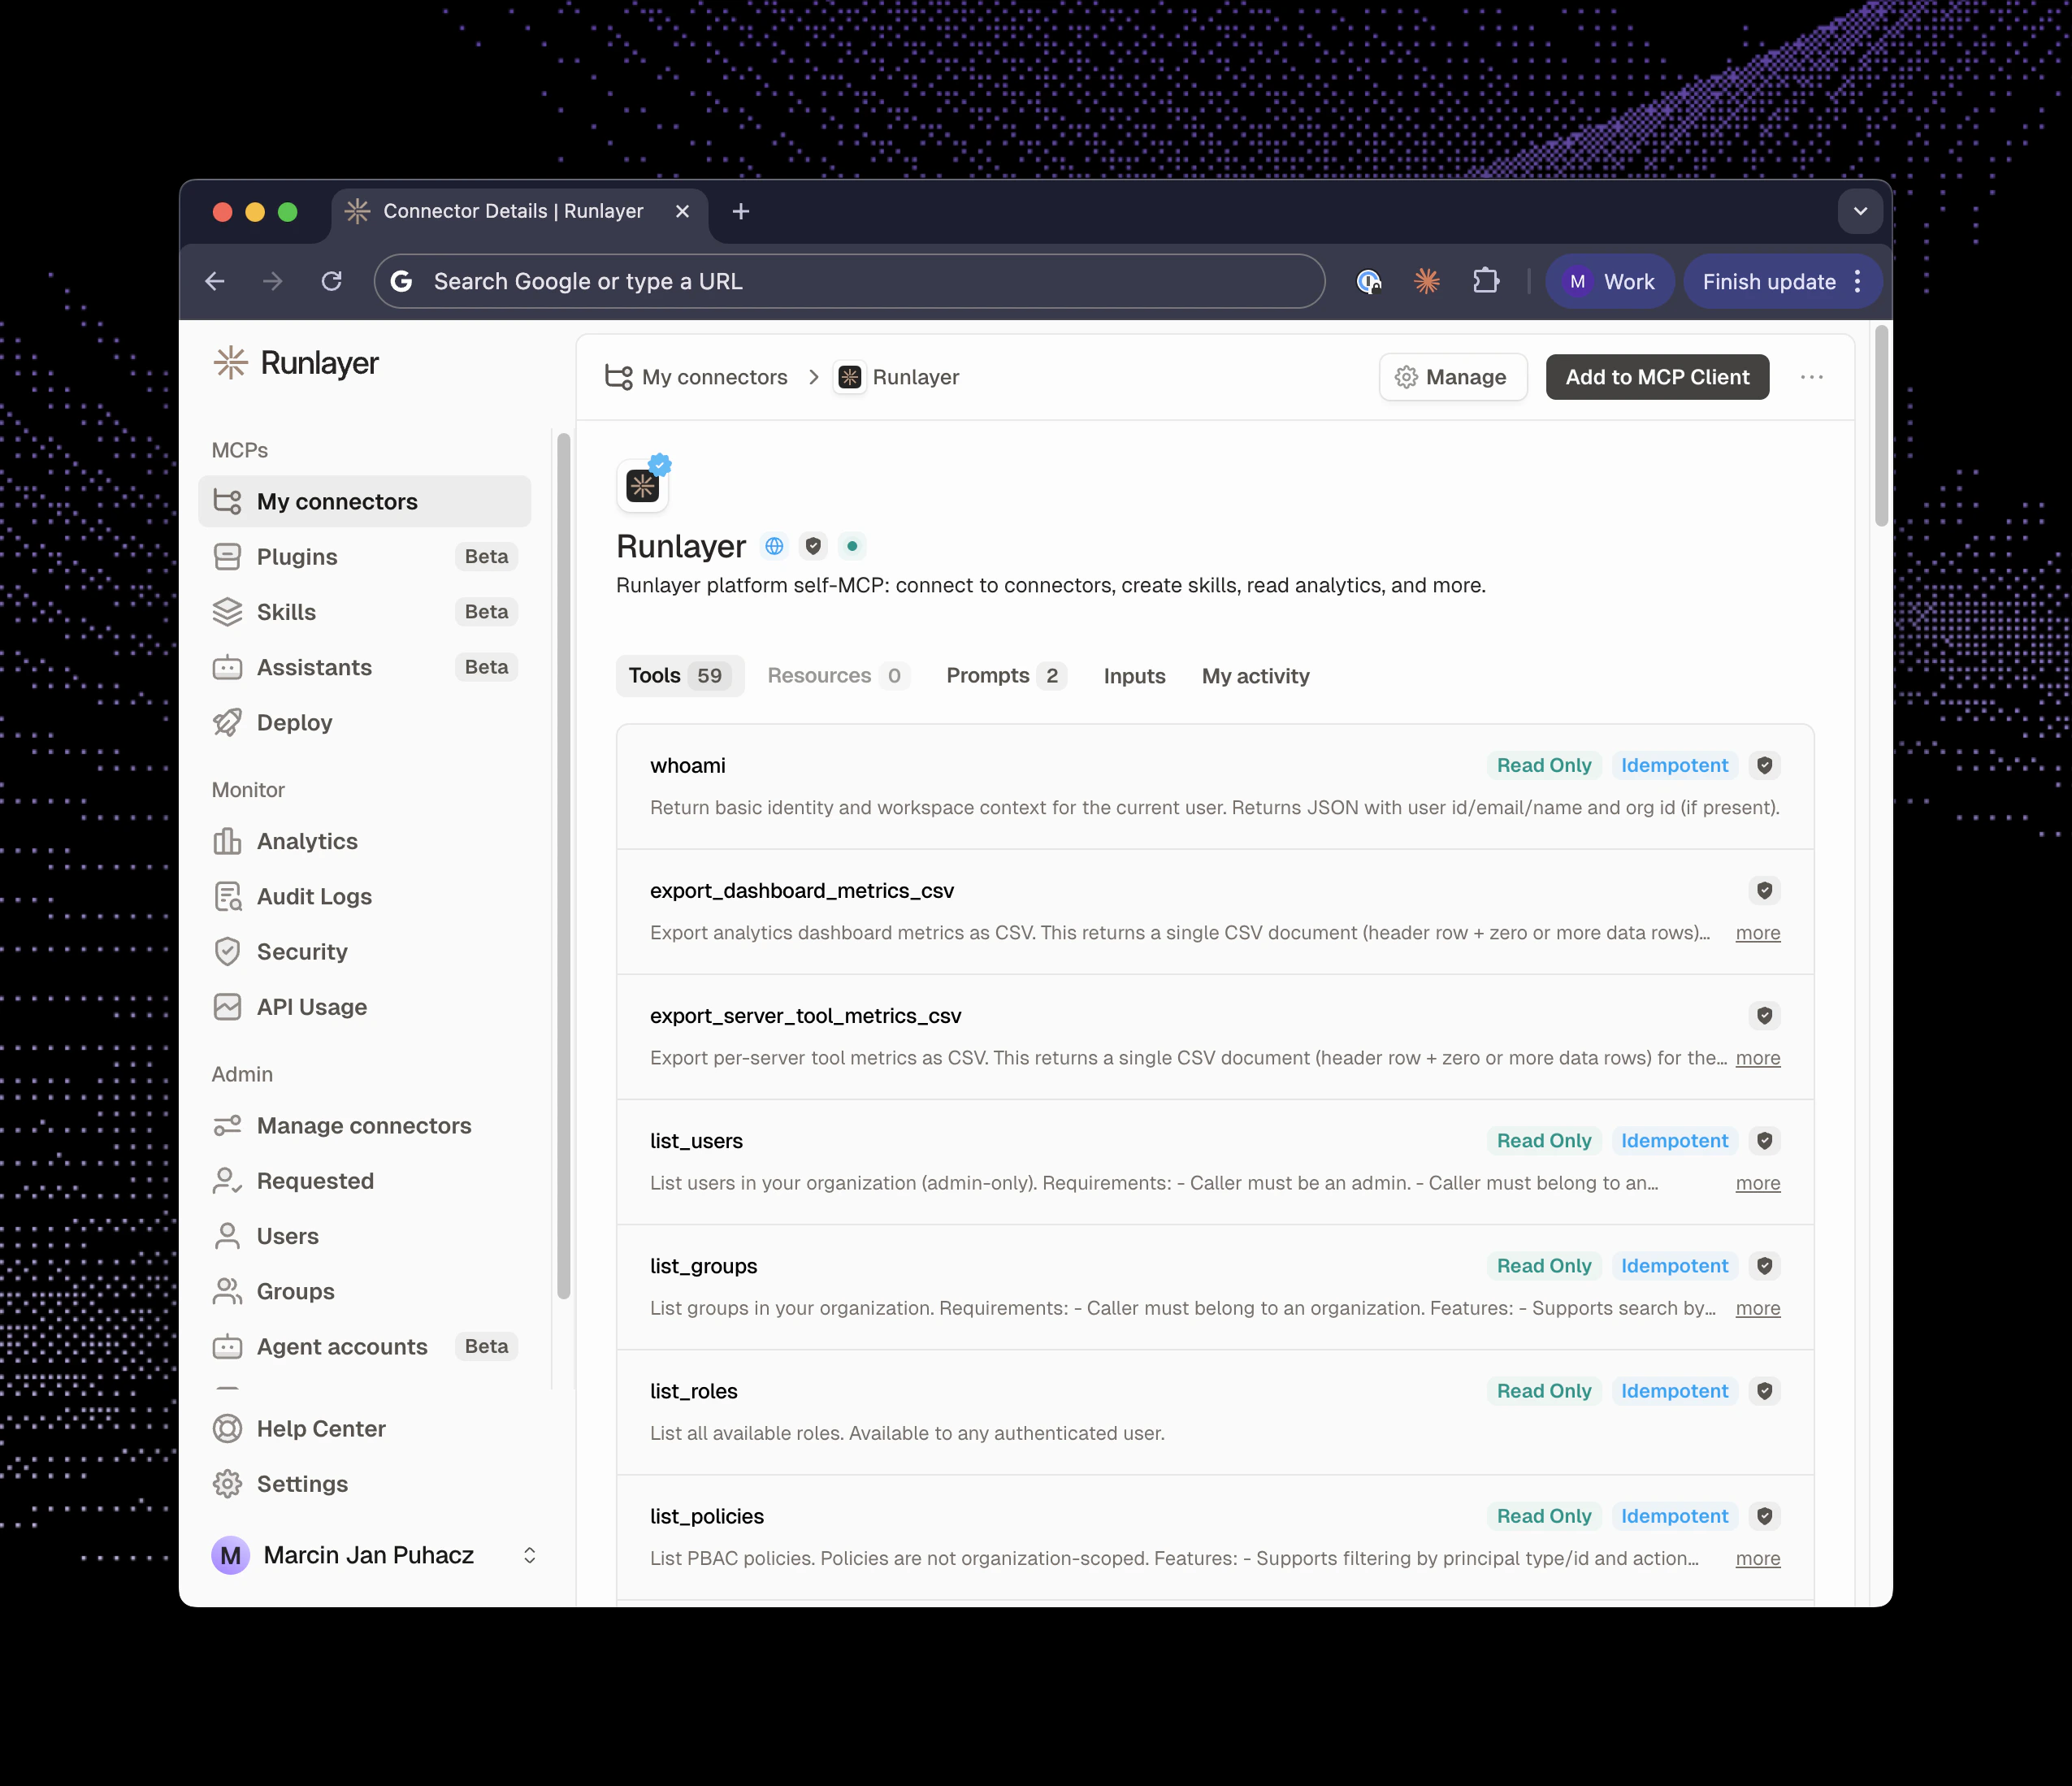
Confirm Runlayer MCP is installed in your client

Open client MCP settings and verify
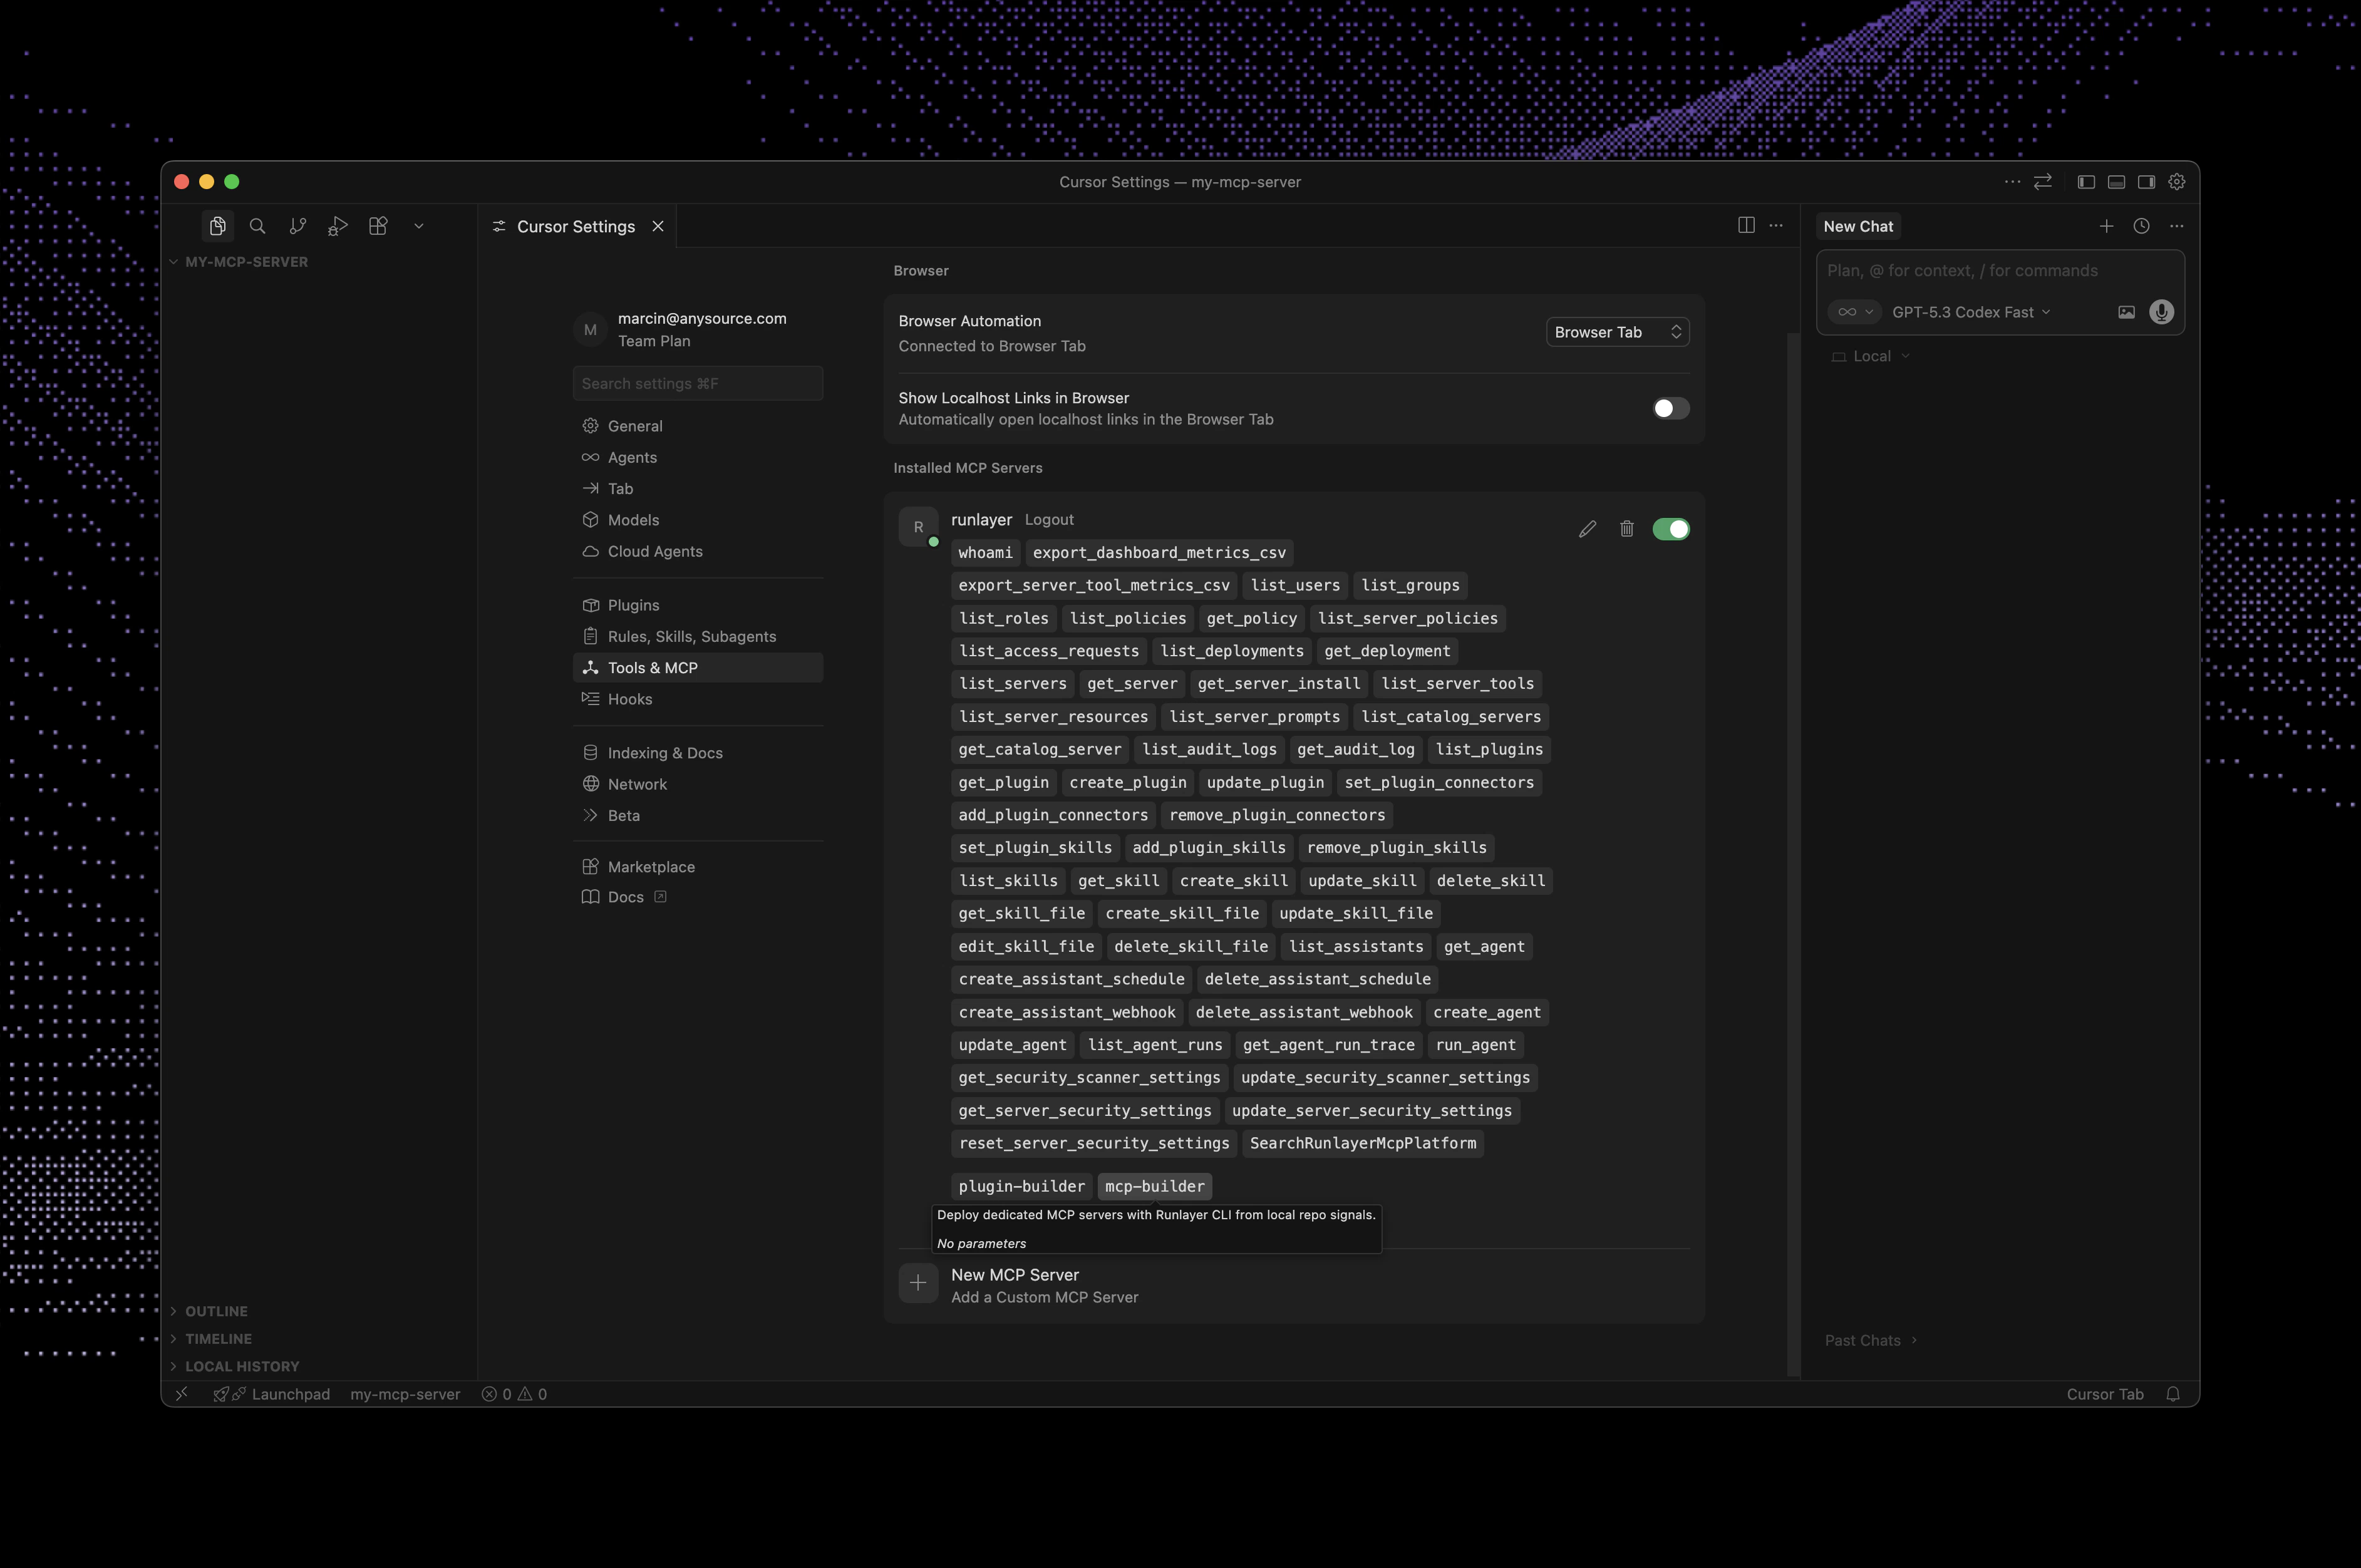
 runlayer is listed and enabled.Cursor MCP settings showing runlayer installed
3

Use MCP Builder prompt

Start a new chat and use 
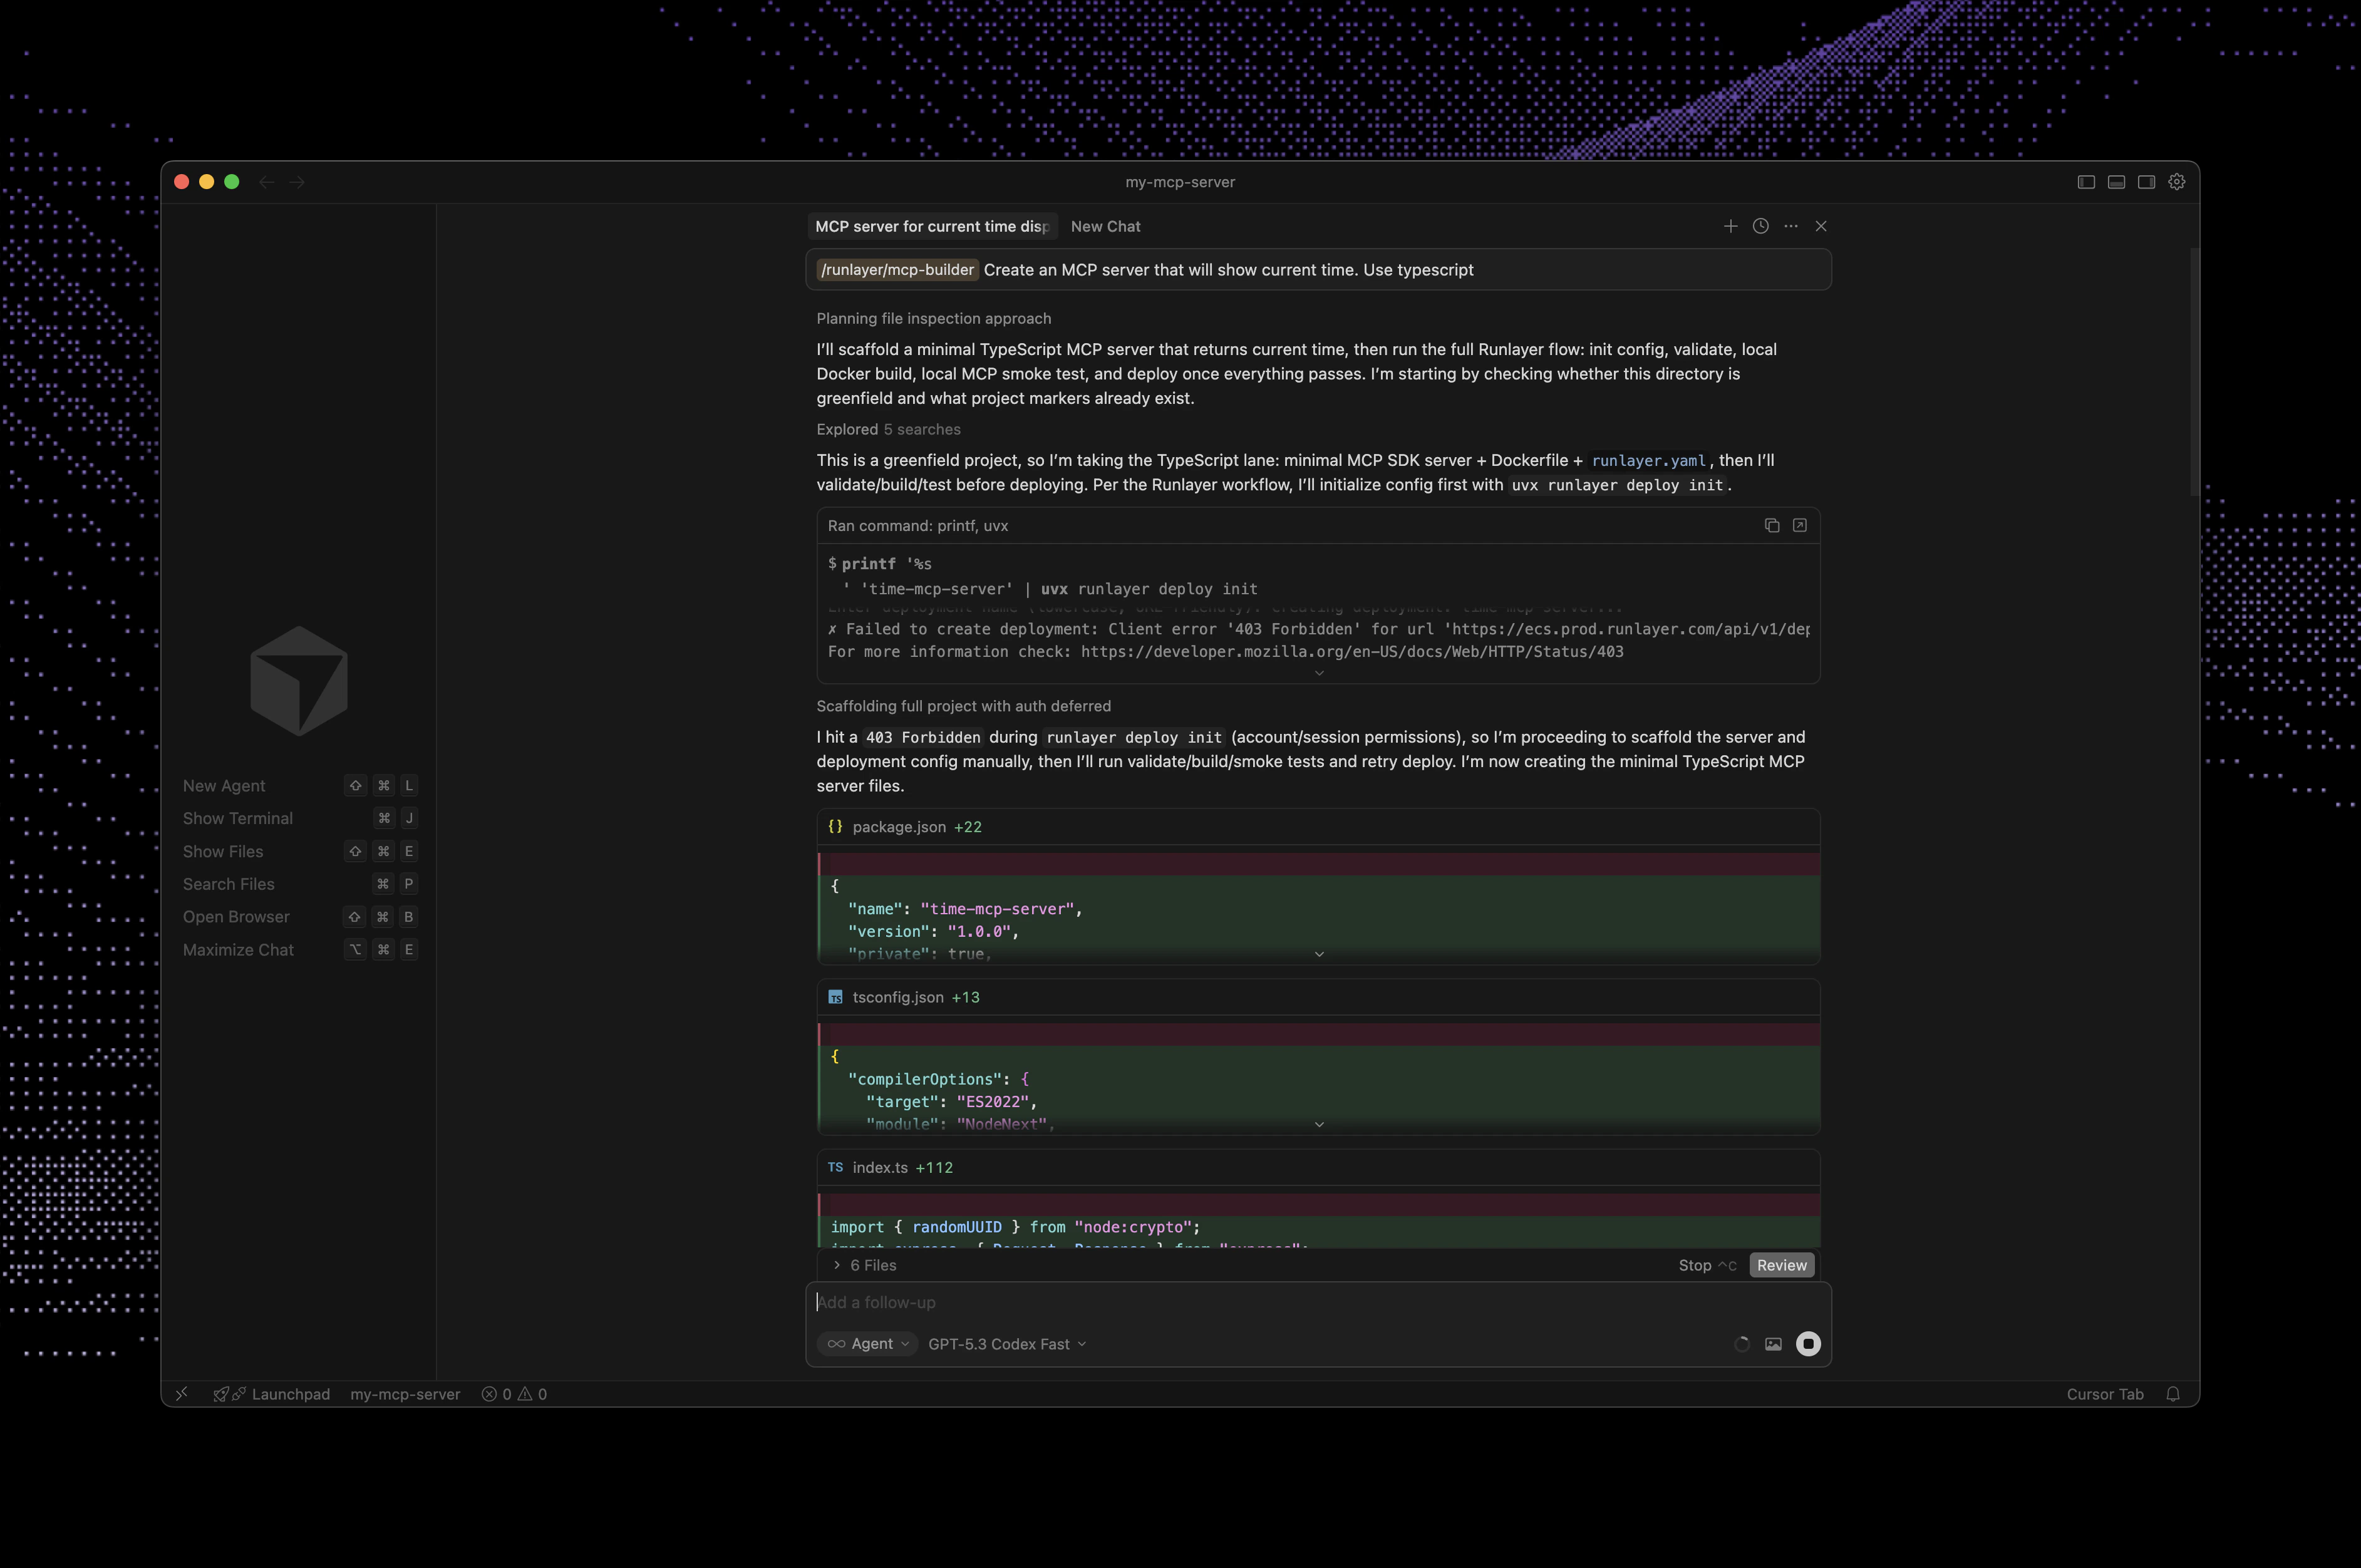
/runlayer/mcp-builder with your server goal.Example:
/runlayer/mcp-builder Create an MCP server that returns current time. Use TypeScript and include files needed for deploy.
Chat showing MCP Builder prompt flow
4

Iterate and ship

Keep working in the same thread: ask MCP Builder to validate, fix, and refine until done.

Prompt ideas

/runlayer/mcp-builder Build an internal support MCP server that calls our backend API to fetch customer account status, recent incidents, and subscription plan.
/runlayer/mcp-builder Build a customer troubleshooting MCP server with tools: get_user_by_email, list_recent_errors, and summarize_common_failures. Data comes from our internal APIs only.
/runlayer/mcp-builder Build an operations MCP server for our team to check deployment status, feature flags, and audit events from our platform API with strict input validation.

Need advanced setup?

Runlayer MCP Builder uses Runlayer Deploy under the hood. If you want more control over deployment and configuration, see Platform Deploy.

Other clients

Same flow works in Cursor, Codex, Claude Code, and OpenCode: keep Runlayer MCP enabled, and call mcp-builder prompt.