Documentation Index
Fetch the complete documentation index at: https://docs.runlayer.com/llms.txt
Use this file to discover all available pages before exploring further.
Get Started with Runlayer
Start using Runlayer connectors with your AI tools in minutes. This guide will walk you through your first login, choosing a connector, and connecting it to your AI client.Your administrator has already set up Runlayer for your organization. You just need to log in and start using it!
Step 1: Login
- Navigate to your organization’s Runlayer URL (provided by your admin)
- Click “Sign In” - You’ll be redirected to your organization’s Single Sign-On (SSO) page
- Log in with your work credentials - Same username and password you use for other company tools
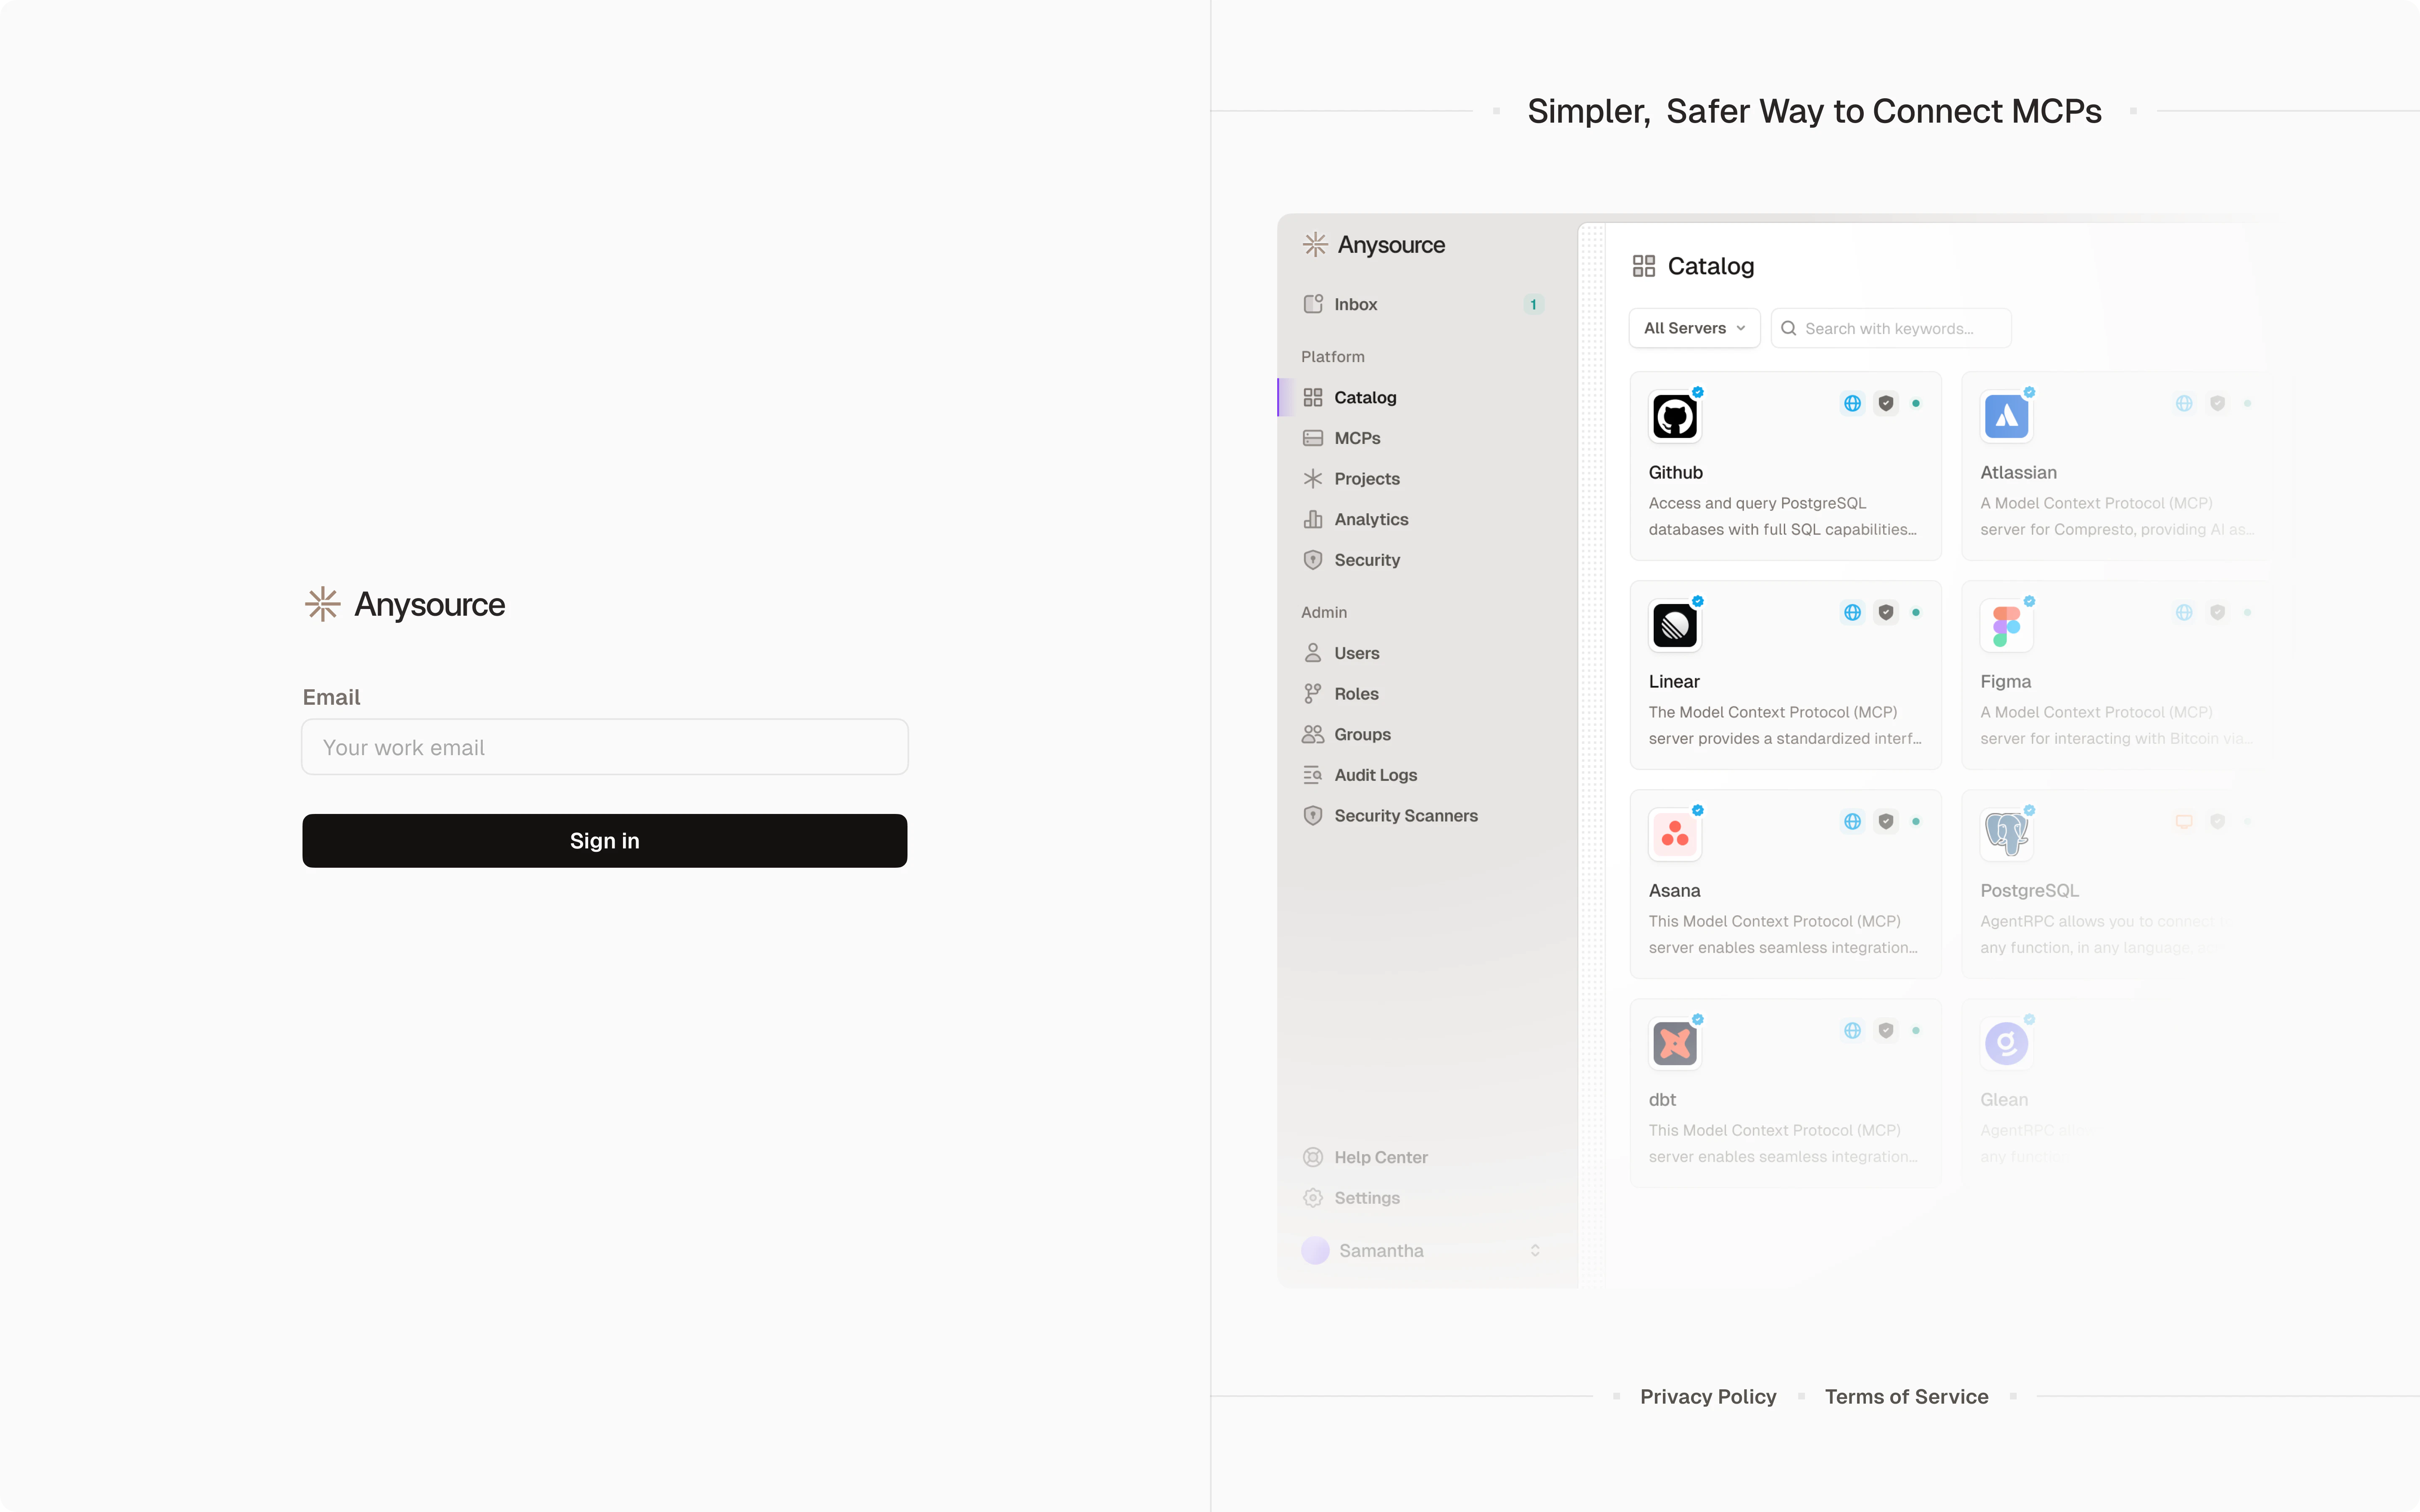
Step 2: Choose a Connector
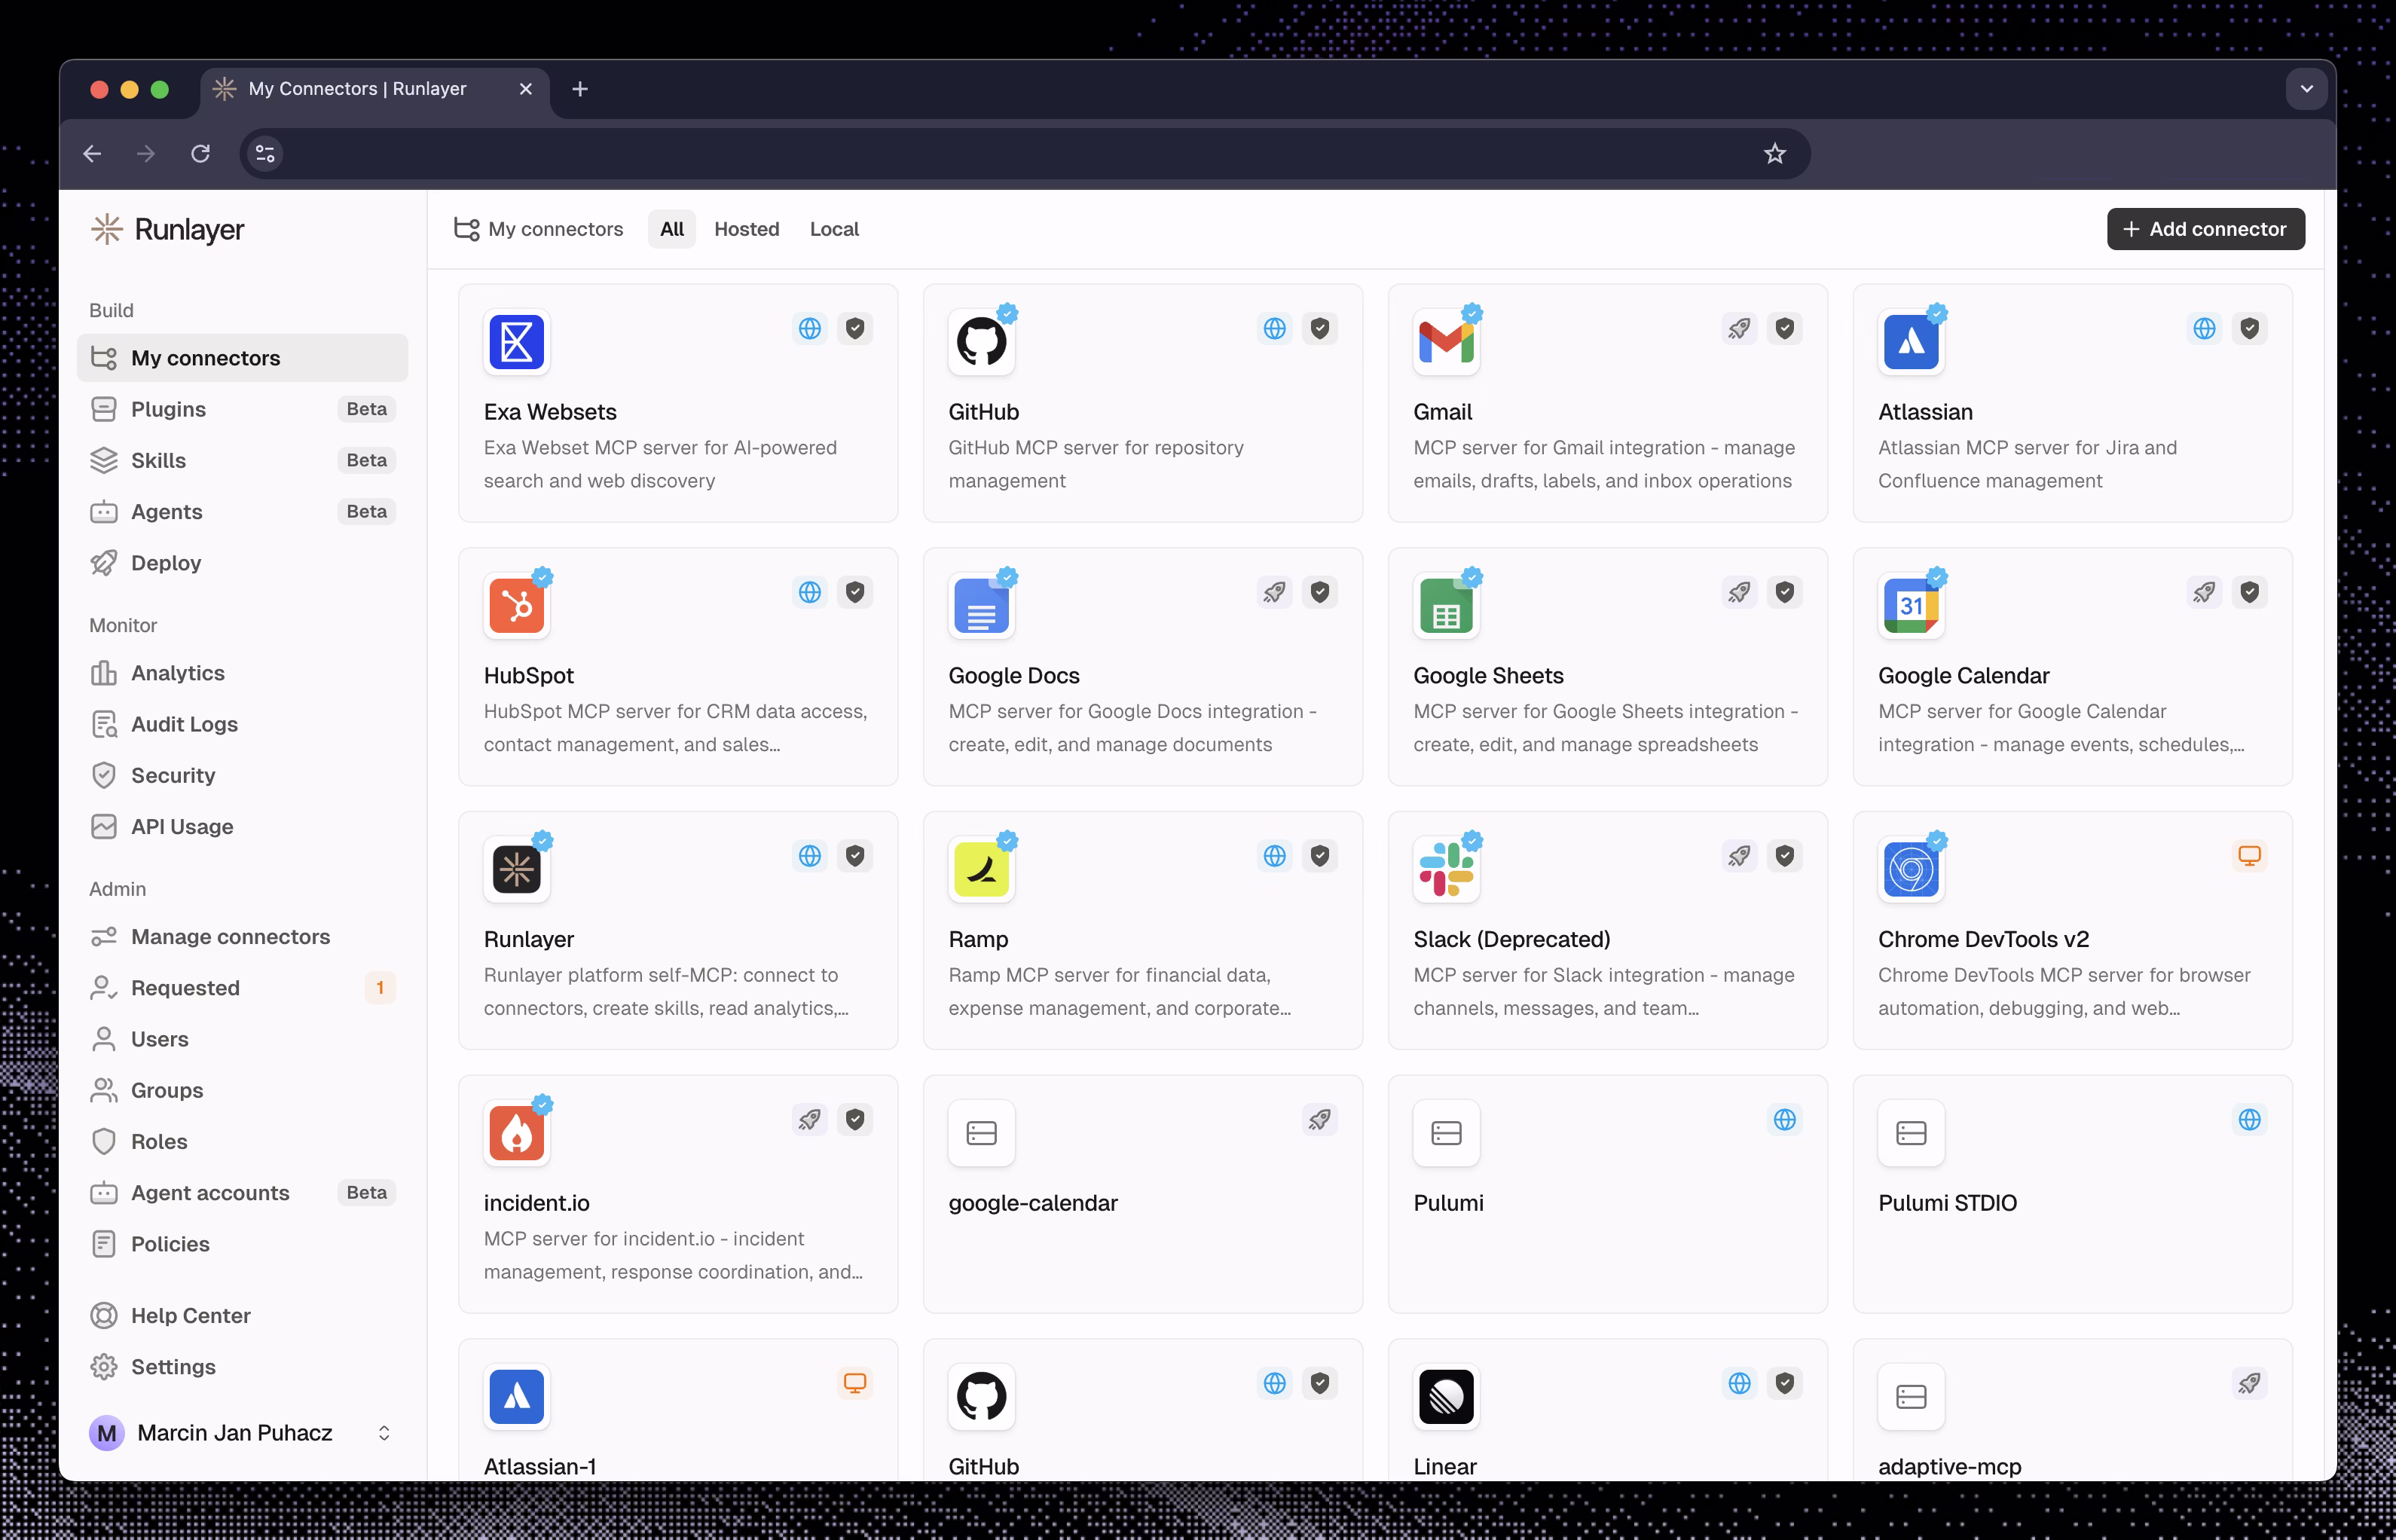
- Open My connectors in the left sidebar
- Browse or search for connectors by name
- Click on any connector to see details:
- What it does
- What tools it provides
- What data it can access
- Click “Add connector” or “Request new” to start setup
- GitHub - Access code repositories, create issues, search code
- Brave Search - Web search capabilities
- PostgreSQL - Query databases
- Slack - Read messages, post updates
- Google Drive - Access documents and files
If the connector you need is missing, request a new one or ask your admin to add it. See the Employee Handbook for details.
Step 3: Connect to Your AI Client
Connection Steps
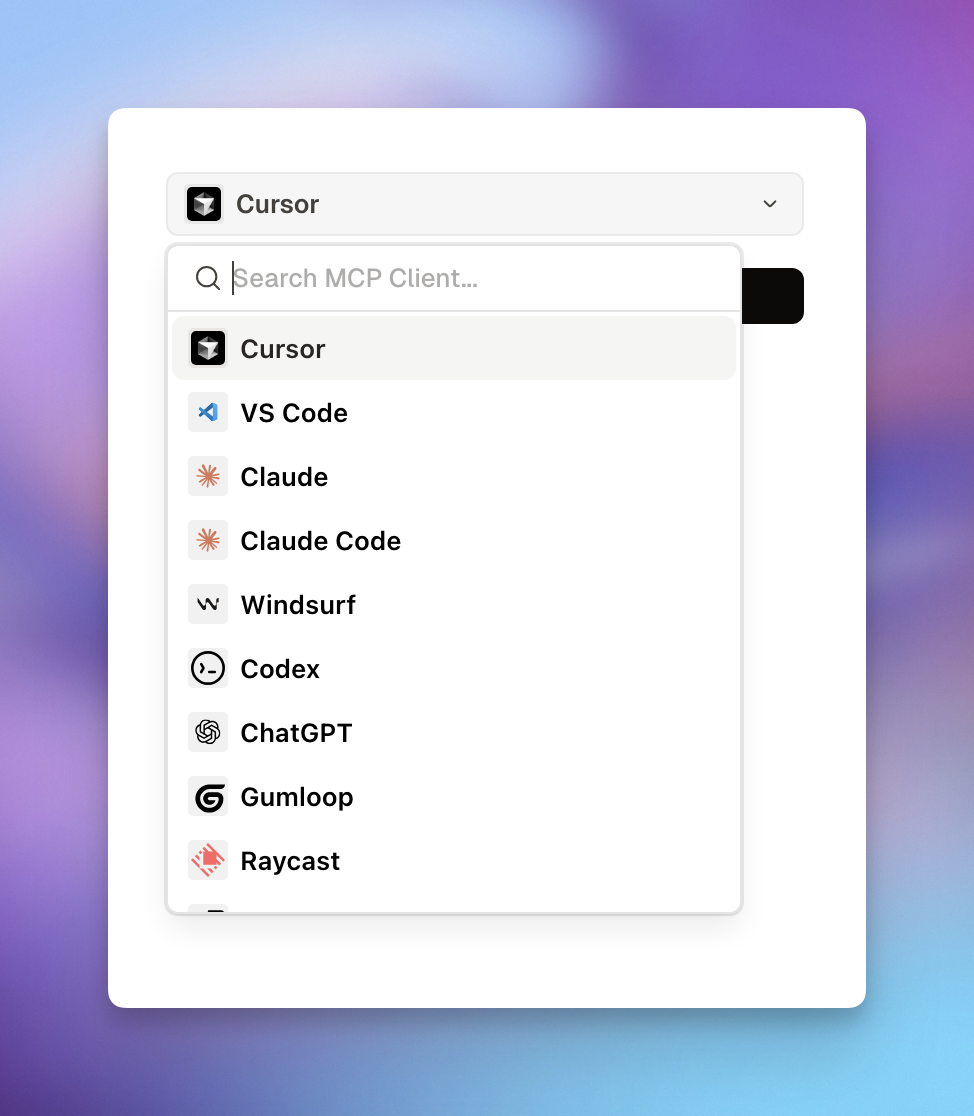
Select Your AI Tool
Choose your client from the dropdown:IDEs & Code Editors:
- Cursor, VS Code, Windsurf, Zed, GitHub Copilot
- Claude Desktop, Claude Code, ChatGPT, Codex, Glean, Lovable, Perplexity
- Warp, Gemini CLI, Goose, OpenCode, Cline CLI, GitHub Copilot CLI, Antigravity
- Gumloop, Raycast, Crush, ECA
- TypeScript SDK, Python SDK
Follow the Instructions
Runlayer provides complete, step-by-step instructions for your specific client:
- Exact commands to run (for CLI-based tools)
- Configuration files to copy (for file-based tools)
- Connect buttons (for supported IDEs)
- Web UI steps (for browser-based tools)
What’s Next?
Now that you’re set up, explore what you can do:View Audit Logs
See all your MCP activity and troubleshoot issues
Explore Connectors
Browse available connectors and request additional access
Employee Handbook
Complete guide for using Runlayer
Security Best Practices
Learn how to use connectors securely
Common Questions
How do I know when my request is approved?
How do I know when my request is approved?
You’ll receive a notification via email and in the Runlayer app. The connector status will change from “Pending” to “Active”.
Can I use the same connector on multiple computers?
Can I use the same connector on multiple computers?
Yes! Generate one API key and use it on all your devices. The same configuration works on your work laptop, home computer, etc.
What if I can't find the connector I need?
What if I can't find the connector I need?
Use Request new or ask your admin to add it. Your admin will review and approve the request.
My connector isn't showing in my AI tool
My connector isn't showing in my AI tool
Try these quick fixes:
- Restart your AI tool completely (quit and reopen)
- Verify the connector is “Active” in Runlayer
- Try disconnecting and reconnecting
Getting Help
Common Questions
Troubleshooting guide for common problems
Admin Handbook
For administrators managing Runlayer
Email Support
Documentation
Complete employee handbook