This guide requires Jamf Pro. Jamf Now and Jamf School have different script deployment capabilities.
Prerequisites
- Jamf Pro admin access
- Enrollment key from Runlayer
Creating an Enrollment Key
Creating an Enrollment Key
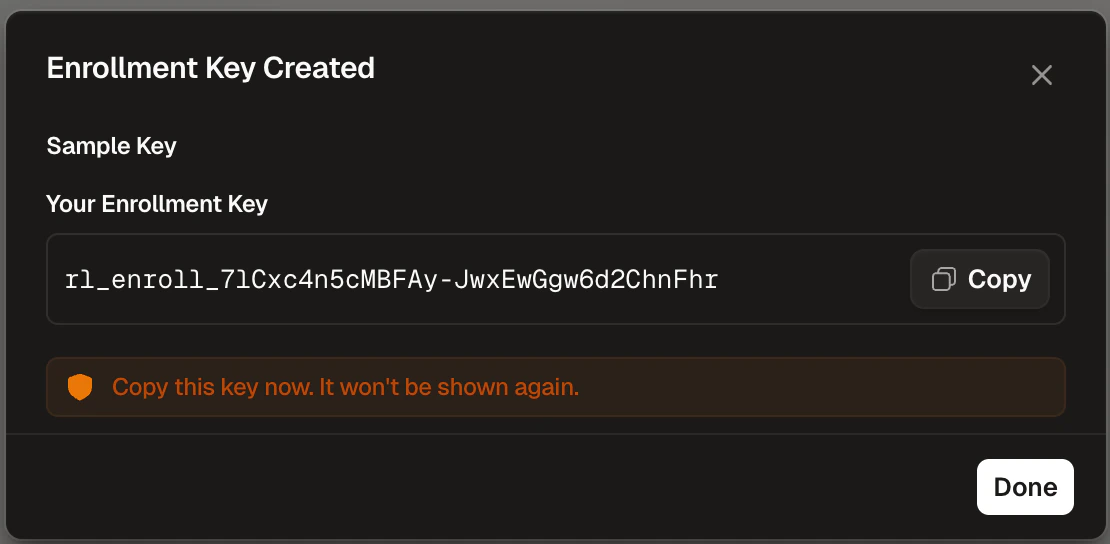
Enrollment keys allow devices to automatically register with Runlayer and obtain API credentials.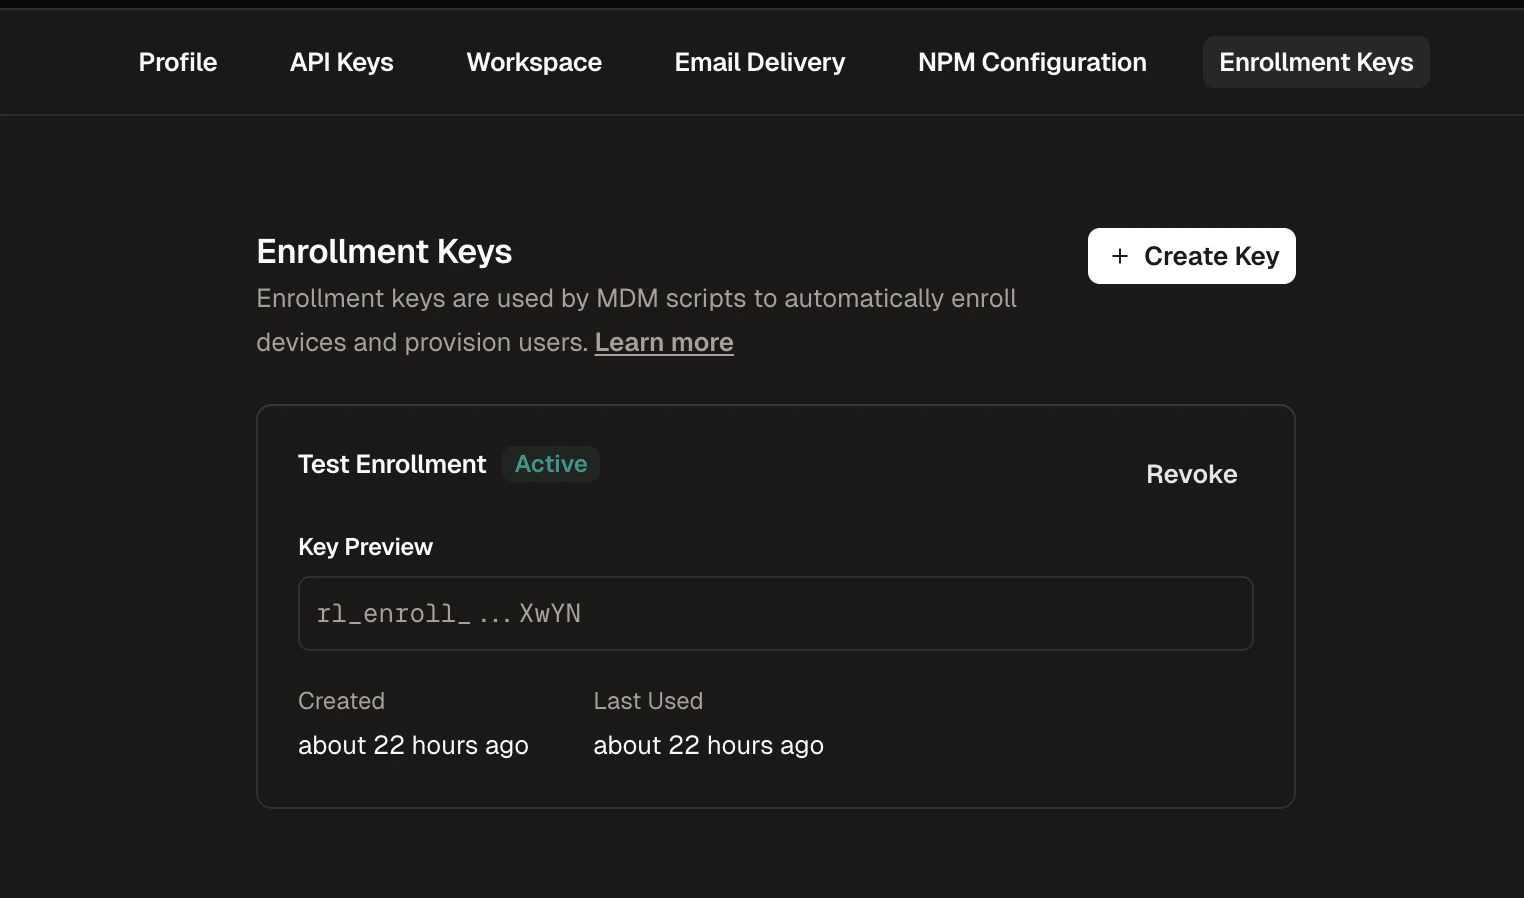
Navigate to Enrollment Keys
Go to Settings in the Runlayer dashboard and select the Enrollment Keys tab
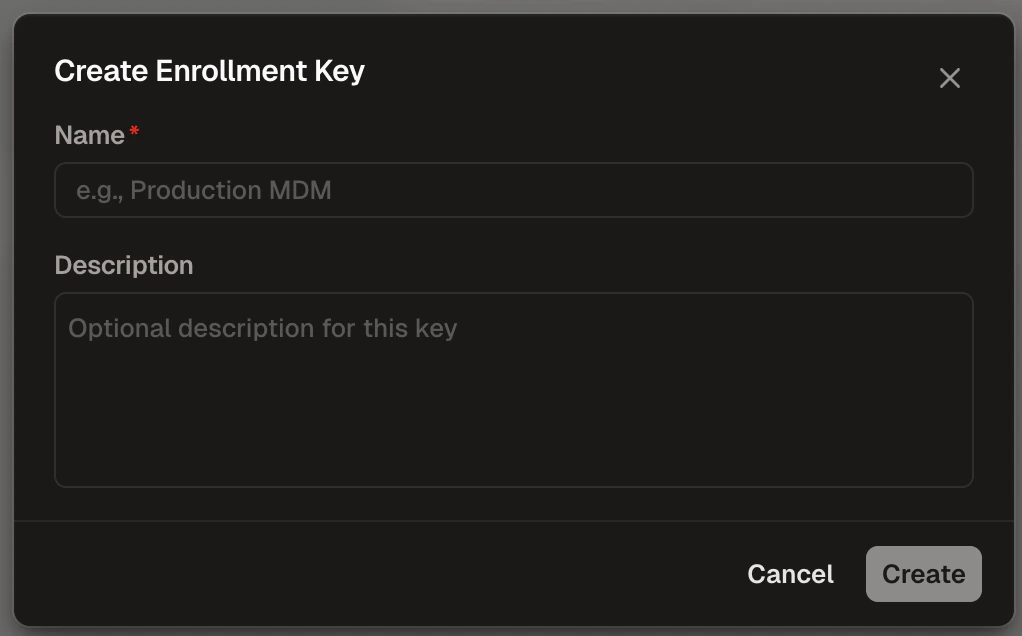
Configure the Key
- Name (required): Enter a descriptive name (e.g., “Production MDM”)
- Description (optional): Add context about the key’s purpose
Deployment Steps
Generate the Script
Fill in your settings below to generate a deployment script.
ENROLLMENT_USERNAME: Jamf variable for user identity (e.g.,$EMAIL). Leave empty to use the device username.ENROLLMENT_DEVICE_NAME: Jamf variable for device name (e.g.,$COMPUTERNAME,$SERIALNUMBER). Leave empty to use the computer name.
Upload to Jamf Pro
- Navigate to Settings > Computer Management > Scripts
- Click New, paste the generated script
- Set Priority to “After”
- Save
Verification
Open a client application (e.g., Cursor) on a target device and confirm the synced MCP servers appear. Check policy execution status in Jamf Pro. If something went wrong, check/var/log/runlayer/auto_provisioning.log on the device.